If you are building a portfolio, landing page, or blog with Astro, chances are you need a contact form.
But here is the catch:
Astro is a static site framework. It generates fast, lightweight HTML with no server-side backend. That means your forms have nowhere to send data by default.
Setting up a backend to handle a contact form feels unnecessary work for most Astro developers. And that is exactly why thousands of people search for things like "Astro contact form without backend" every month.
In this guide, you will learn exactly how to handle form submissions in your Astro site without building your own backend, using Formgrid.
We will walk through a step-by-step tutorial with code you can copy, paste, and deploy immediately.
Why Astro Developers Need a Form Backend
Astro builds static HTML files. That is its biggest strength. Fast. Lightweight. No server required.
But static HTML forms cannot process their own submissions. When someone clicks submit on a plain HTML form, the data has nowhere to go unless something on the server receives it.
Setting up your own backend just to collect form submissions means:
You need a server running Node, PHP, or Python. You need routing, validation, and spam protection. You must configure email notifications. You need a database to store submissions. You must maintain it indefinitely.
All this work just to receive a message from a website visitor.
That is why most Astro developers use a form submission service instead.
Popular Ways to Handle Forms in Astro Without a Backend
Formspree
One of the oldest form backend services. Simple and reliable, but paid plans get expensive quickly. Paid plans start at $15/month. Google Sheets integration starts at around $90/month.
Netlify Forms
A great free option, but only works if your site is deployed on Netlify. If you host on Vercel, Cloudflare, or GitHub Pages, it does not work at all.
Formgrid.dev (Open-Source)
A newer privacy-first alternative that works with any Astro site, regardless of where it is deployed.
Features include:
Open source under MIT license
Works on any website or deployment platform
Email notifications for every submission
Spam protection with a honeypot and rate limiting
Optional Proof-of-Work CAPTCHA
Free plan: unlimited forms and 25 submissions per month
Google Sheets sync on all plans, with higher limits on Premium ($12/month) and unlimited sync on Business ($29/month)
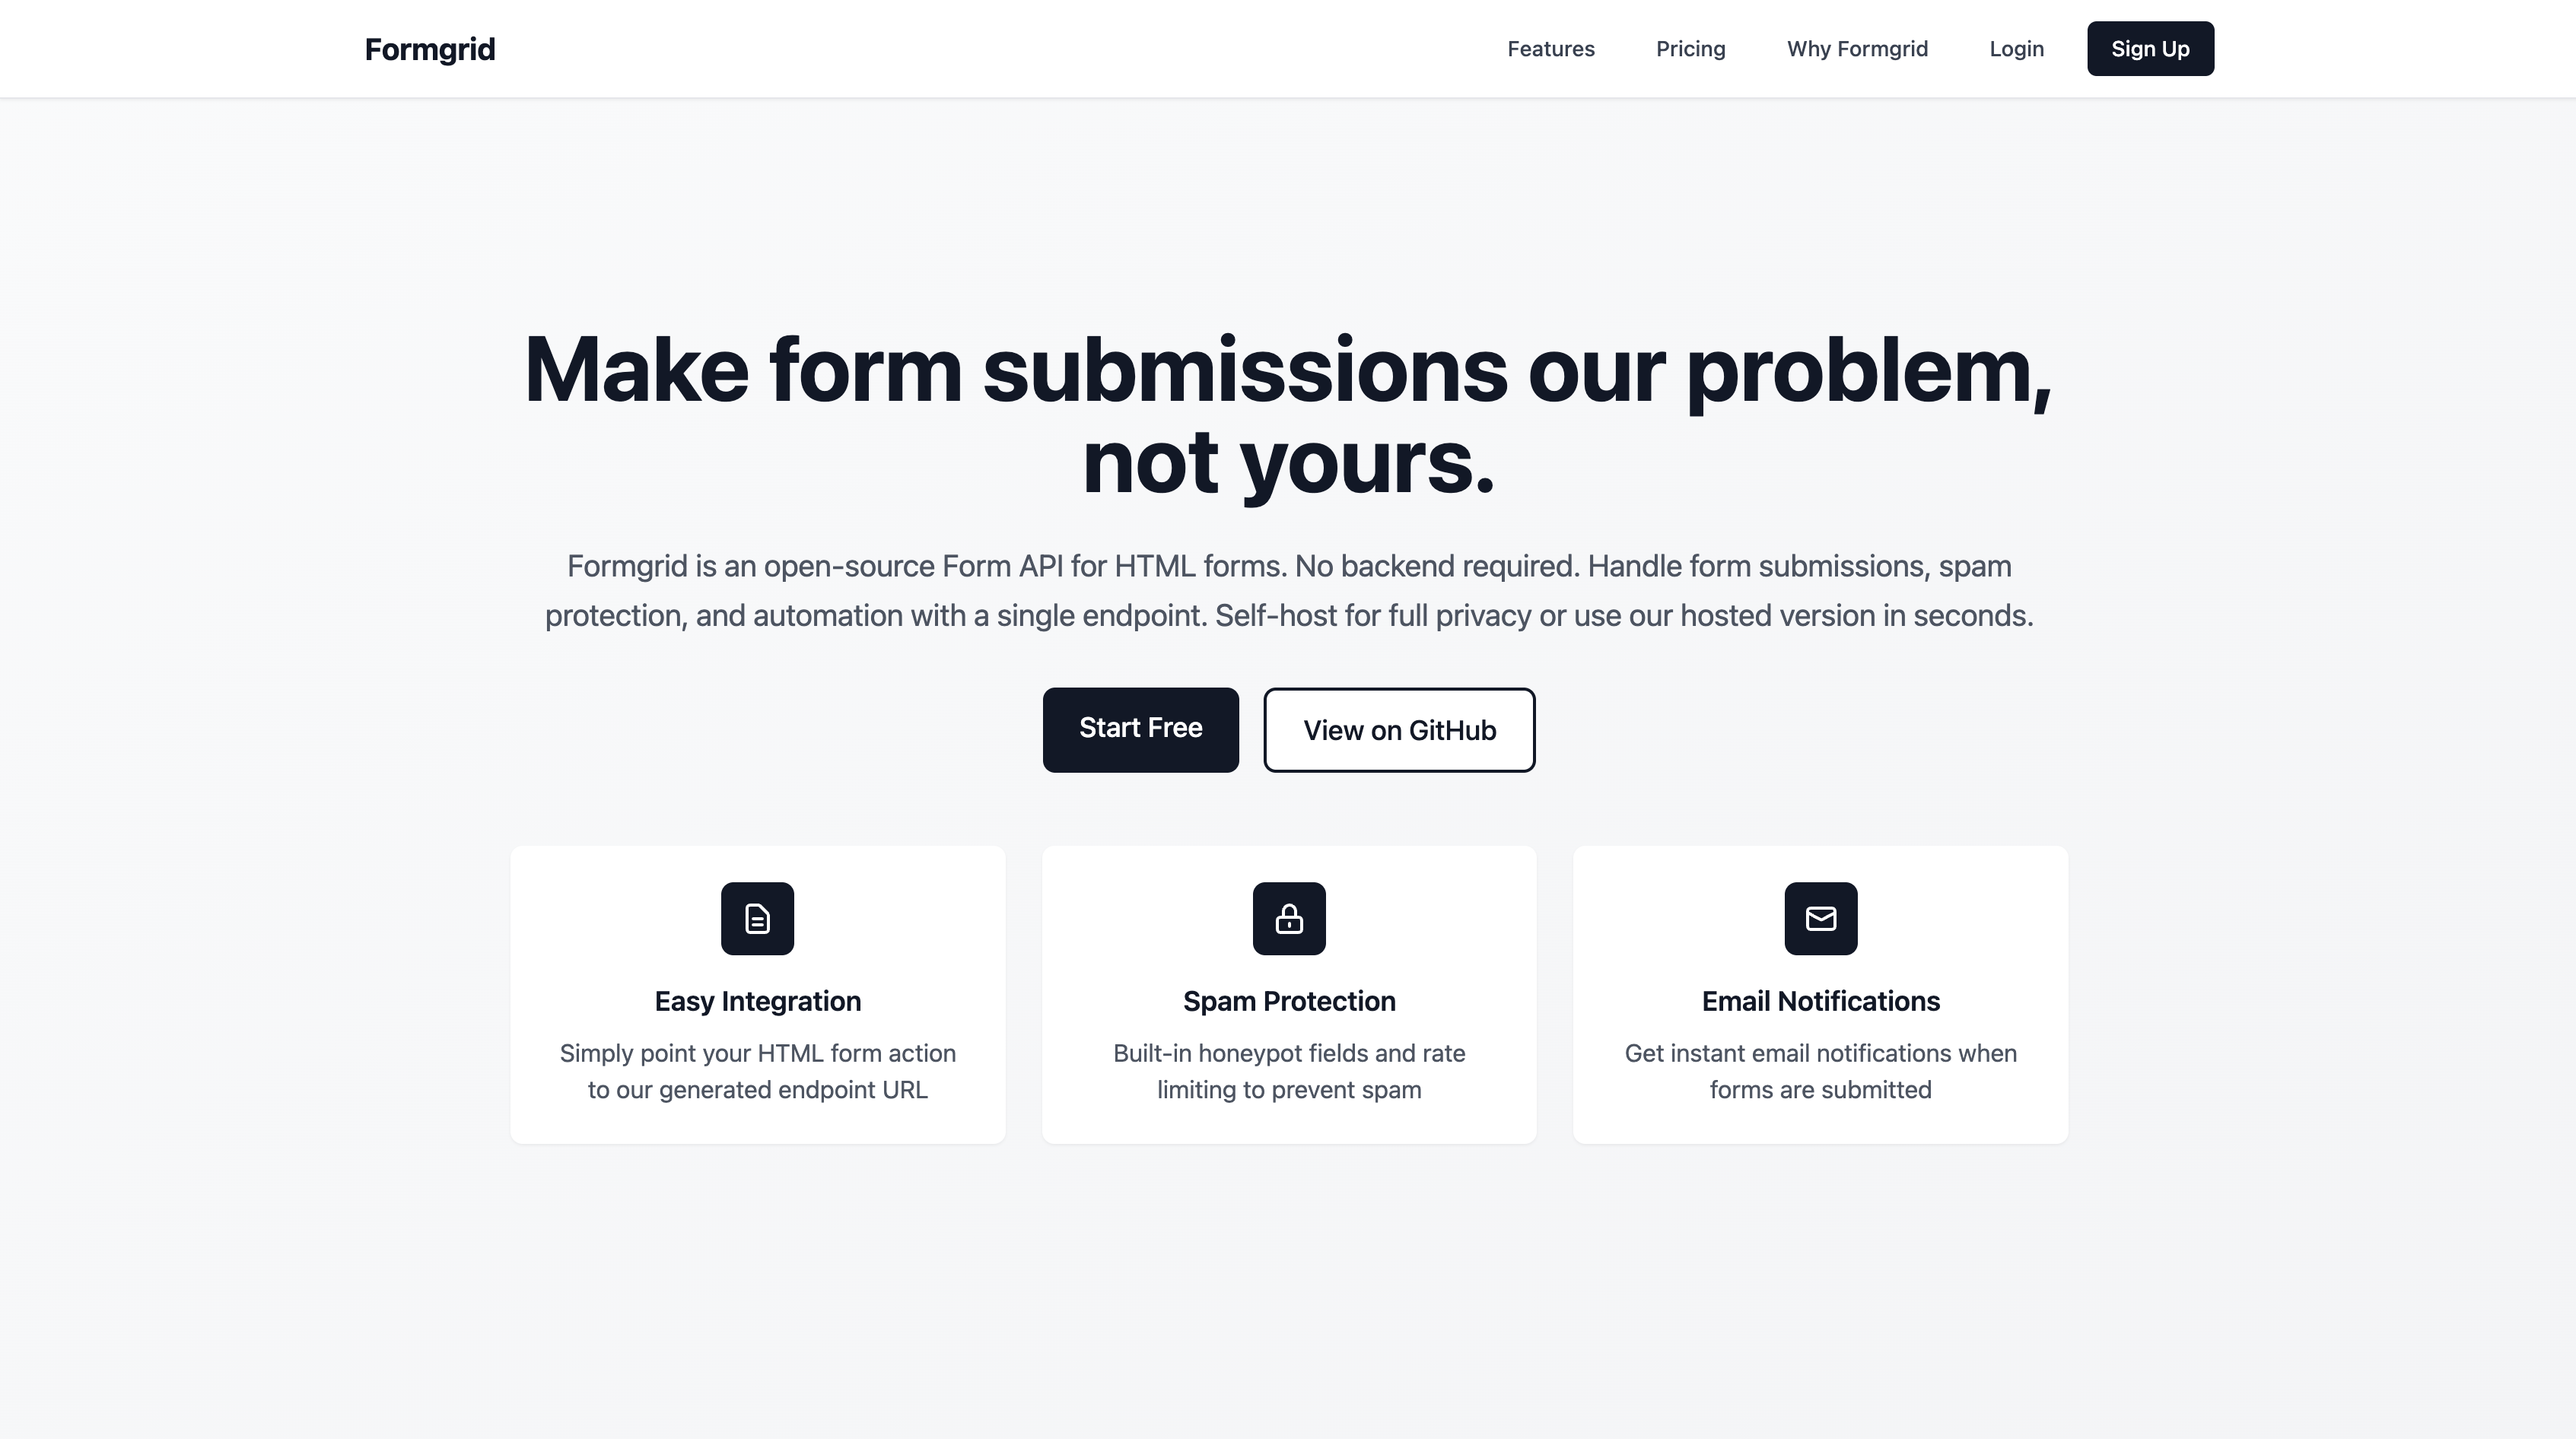
Why Use Formgrid for Your Astro Site
Formgrid is a privacy-first open source alternative to services like Formspree and Netlify Forms. Here is why it works well with Astro specifically:
Instant email notifications: Receive every submission immediately in your inbox with clean, organized formatting.
Works anywhere: Unlike Netlify Forms, Formgrid works whether you deploy on Vercel, Netlify, Cloudflare Pages, GitHub Pages, or your own server.
Spam protection: Built-in honeypot fields, rate limiting, and optional Proof-of-Work CAPTCHA keep bots out.
Self-hostable: Run Formgrid on your own infrastructure using Docker for complete data control.
Submission dashboard: Every submission is saved to your Formgrid dashboard. No submission is ever lost, even if the email fails to arrive.
Open source: MIT license, no vendor lock-in, fully auditable.
Whether you are a solo developer building a portfolio or a freelancer building client websites, Formgrid makes form handling fast, simple, and secure.
Step 1: Create a Formgrid Account
Go to formgrid.dev and sign up using Google or Email. No credit card required.
Formgrid offers free and paid plans. The free plan includes:
Unlimited forms
25 submissions per month
Email notifications
Spam protection
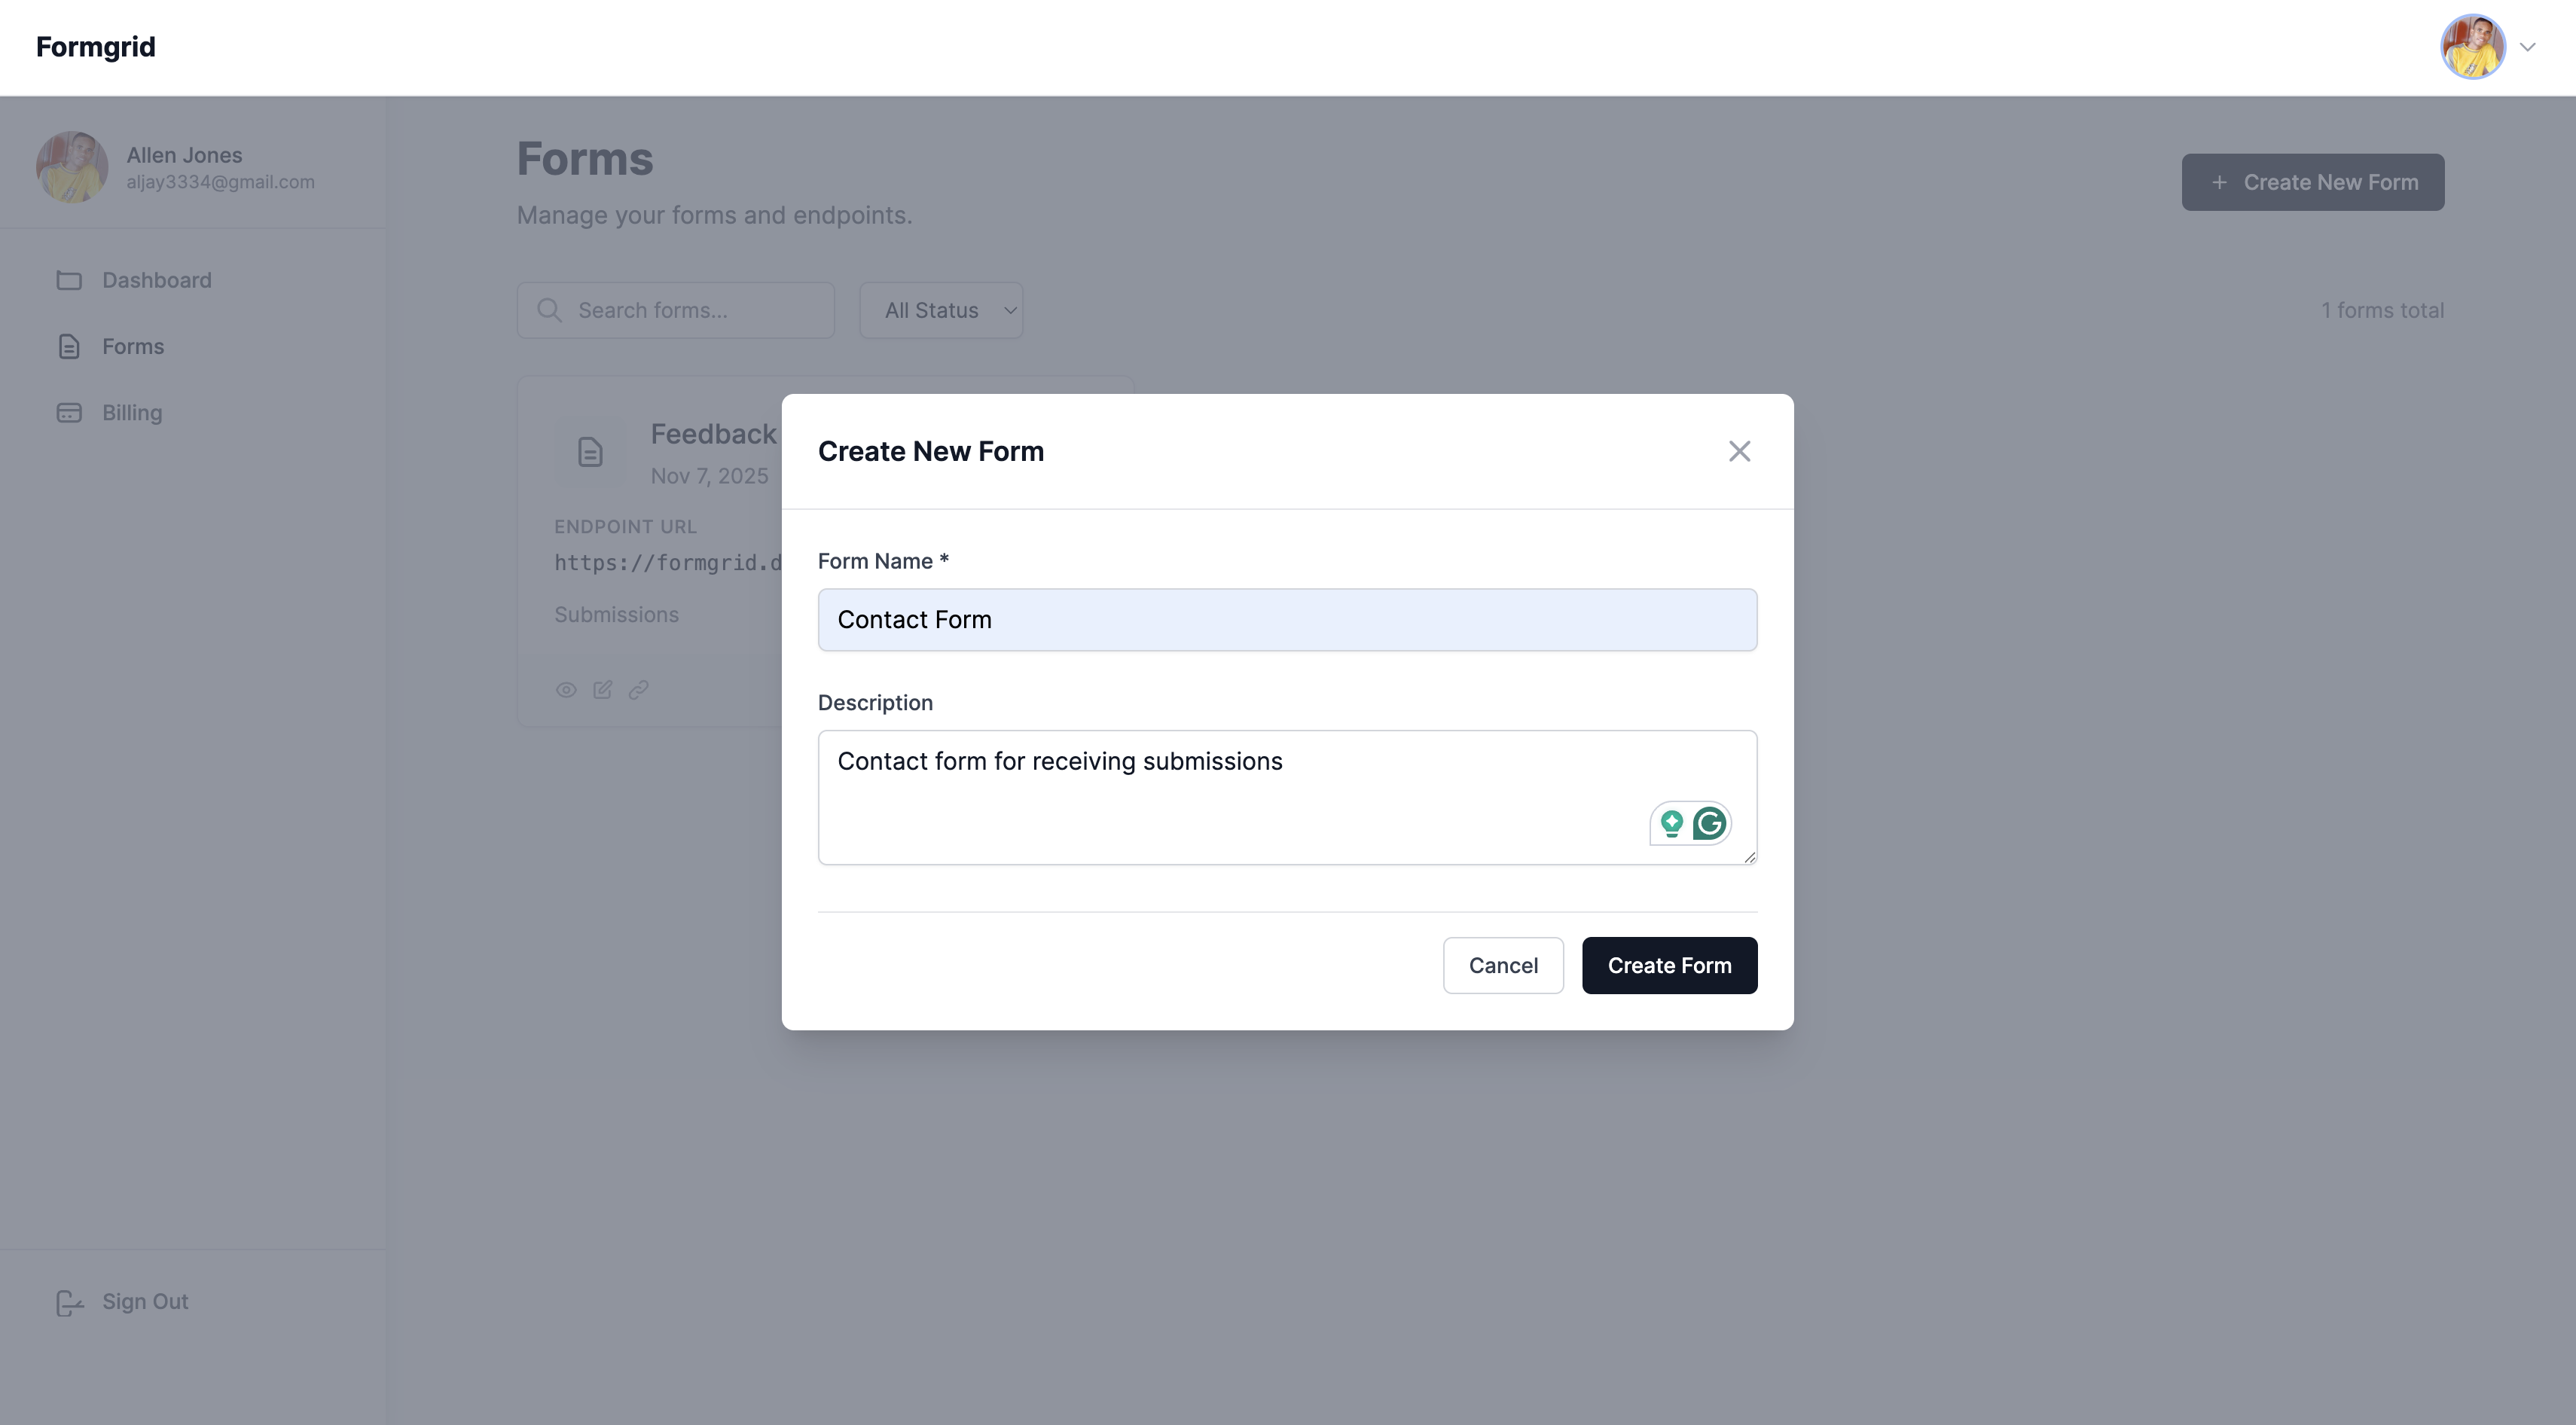
Step 2: Create a New Form
Once logged in, go to your dashboard and click New Form.
Give your form a name:
"Astro Contact Form"
"Portfolio Enquiry Form"
"Client Contact Form"
Click Create Form.
Step 3: Copy Your Endpoint URL
After creating your form, you will land on the form overview page.
Go to the Overview tab and copy your unique endpoint URL. It looks like this:
https://formgrid.dev/api/f/your-form-id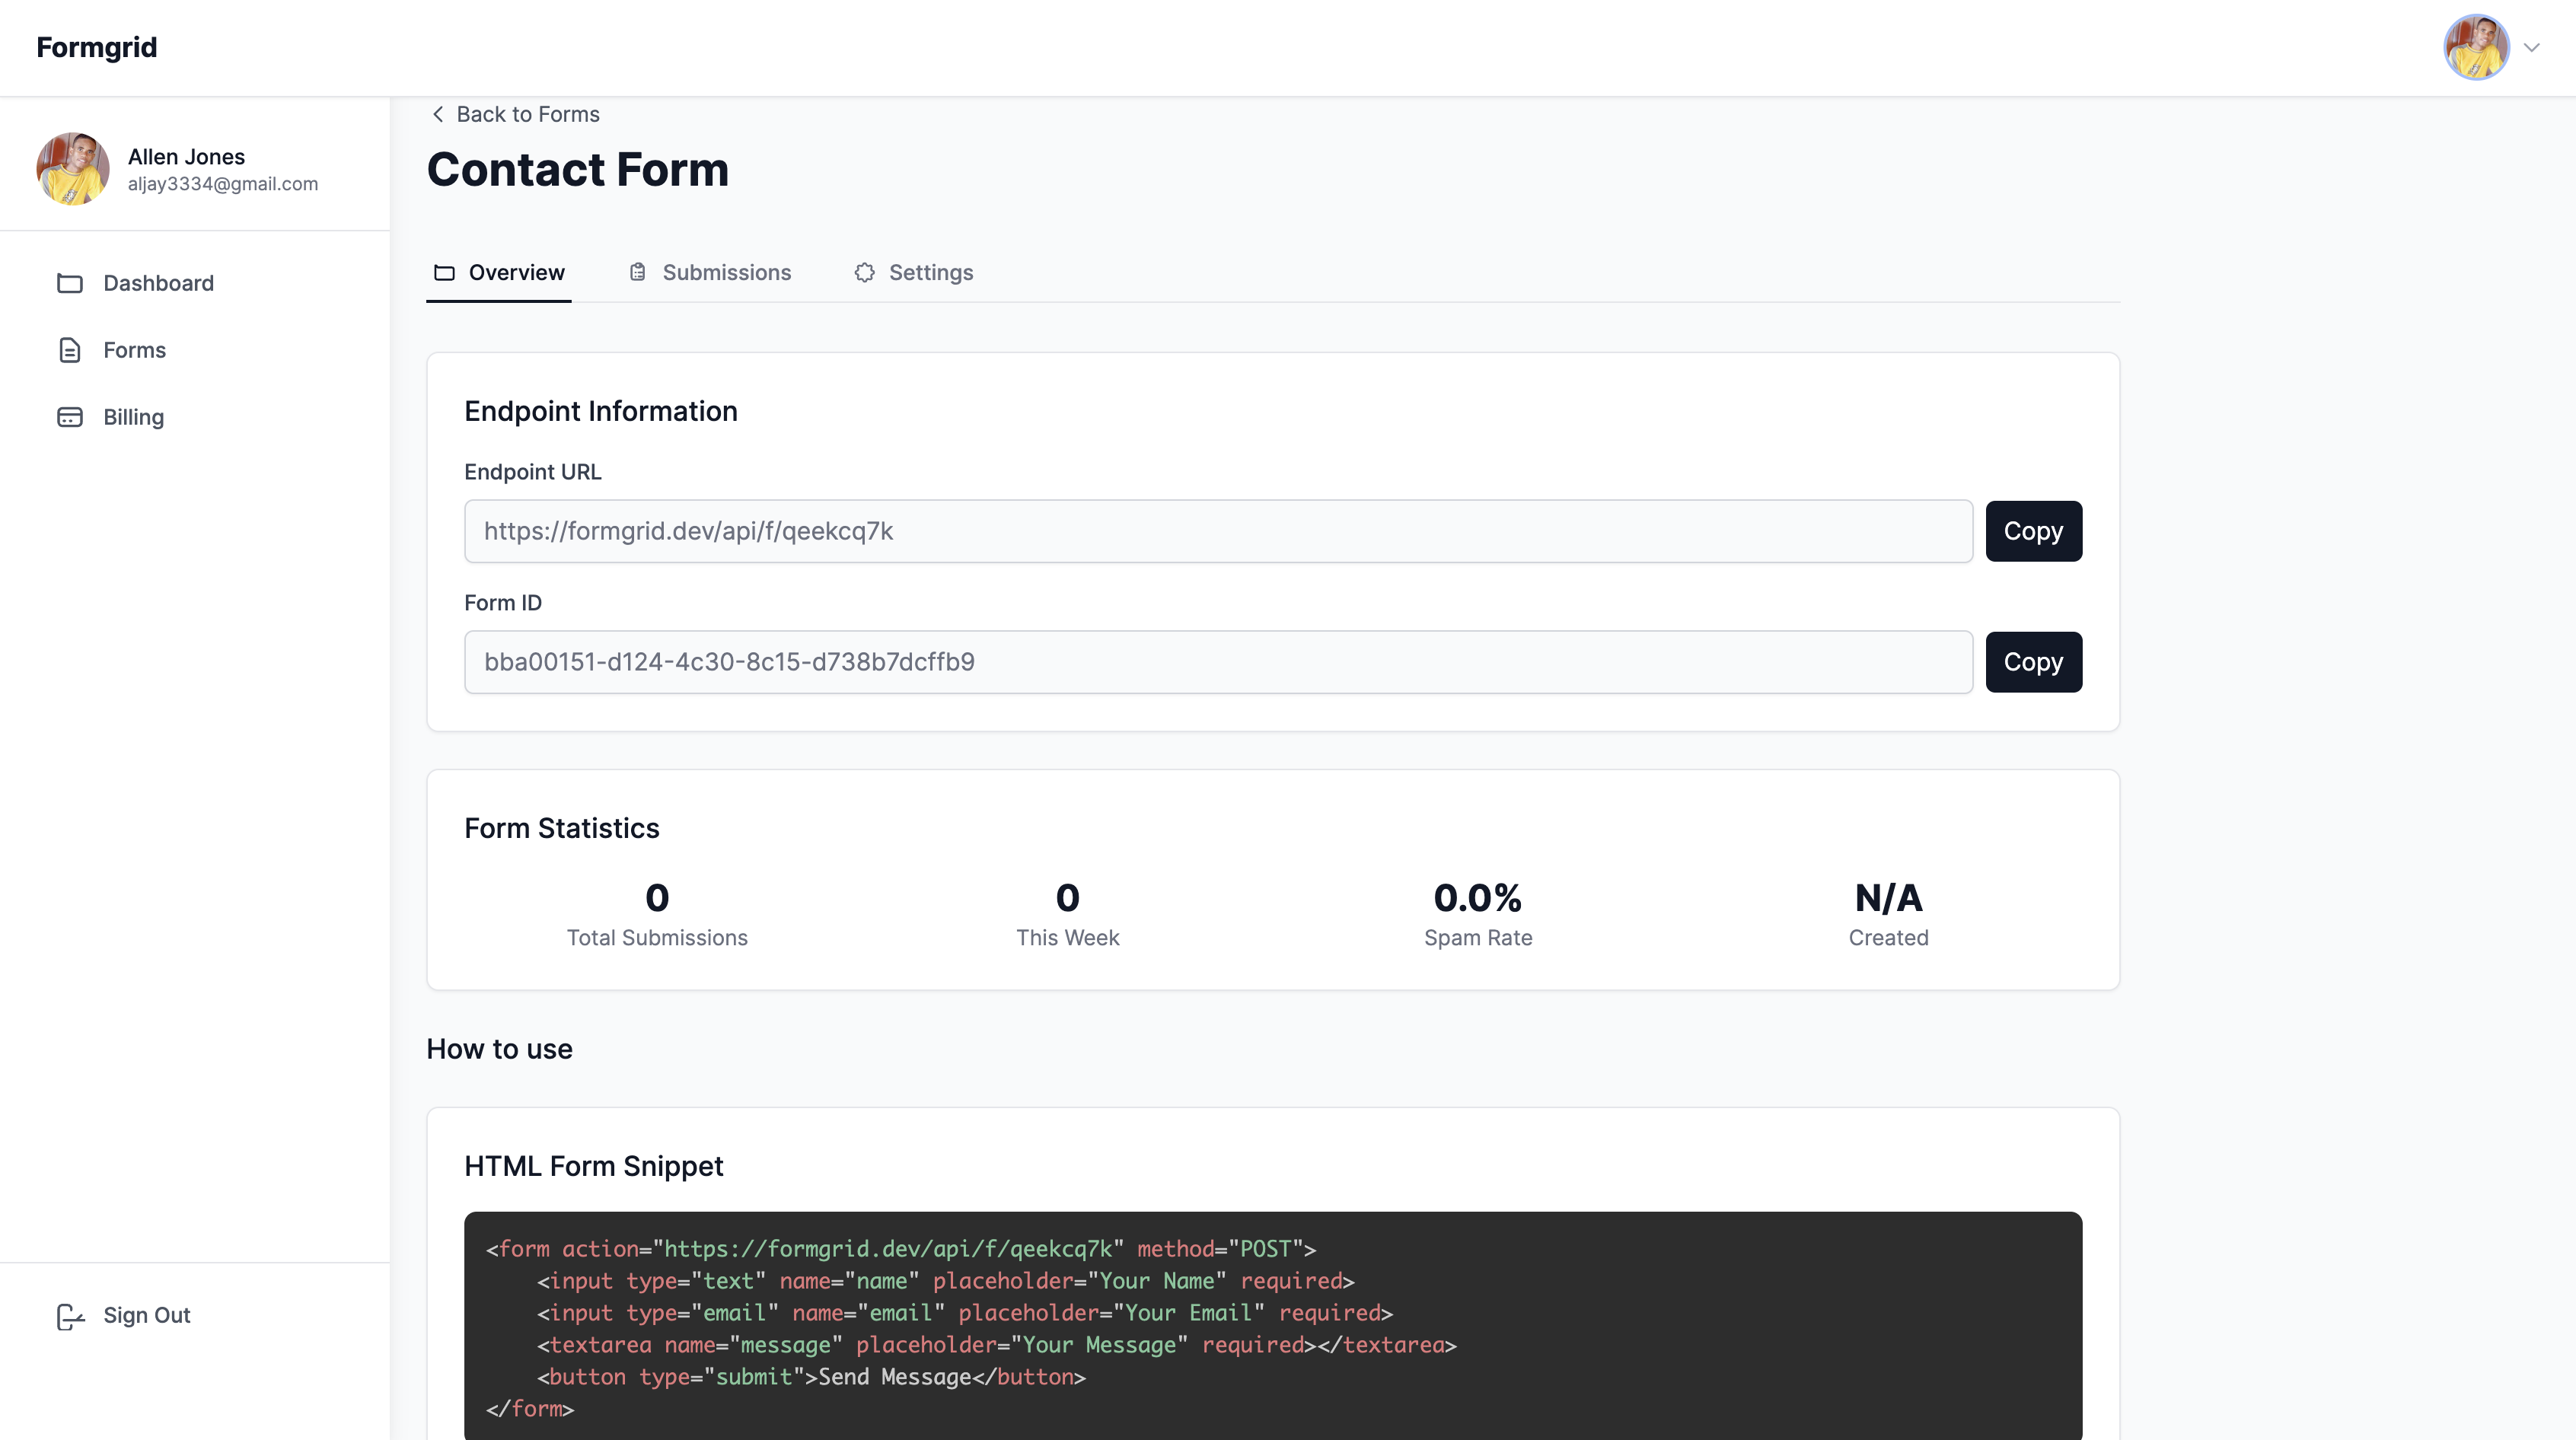
You will use this URL as the action attribute on your HTML form or inside your fetch call.
Step 4: Add the Form to Your
Astro Site
There are two ways to add Formgrid to your Astro site. Choose the one that fits your project.
Option A: Simple HTML Form
This is the fastest approach and requires zero JavaScript. Perfect for straightforward contact forms.
In any .astro file, add this code:
<form
  action="https://formgrid.dev/api/f/your-form-id"
  method="POST"
>
  <label for="name">Your Name</label>
  <input
    type="text"
    id="name"
    name="name"
    required
  />

  <label for="email">Email Address</label>
  <input
    type="email"
    id="email"
    name="email"
    required
  />

  <label for="message">Your Message</label>
  <textarea
    id="message"
    name="message"
    rows="5"
    required
  ></textarea>

  <!-- Honeypot spam protection -->
  <input
    type="text"
    name="_honey"
    style="display:none"
  />

  <button type="submit">Send Message</button>
</form>
Replace your-form-id with the actual endpoint slug from your Formgrid overview tab.
When someone submits the form the page redirects to a Formgrid confirmation page. You receive the submission instantly by email.
Option B: Fetch-Based Form
with No Page Redirect
This approach keeps the user on your page after submission and shows a success message without any page reload.
It uses Astro's built-in <script> tag.
Create a new file called
ContactForm.astro in your components folder and add the following:
---
// ContactForm.astro
---

<div class="form-wrapper">
  <form id="contact-form">

    <!-- Honeypot spam protection -->
    <input
      type="text"
      name="_honey"
      style="display:none"
      aria-hidden="true"
    />

    <div class="field">
      <label for="name">Your Name</label>
      <input
        type="text"
        id="name"
        name="name"
        placeholder="Allen Jones"
        required
      />
    </div>

    <div class="field">
      <label for="email">Email Address</label>
      <input
        type="email"
        id="email"
        name="email"
        placeholder="allen@example.com"
        required
      />
    </div>

    <div class="field">
      <label for="message">Message</label>
      <textarea
        id="message"
        name="message"
        rows="5"
        placeholder="Write your message here"
        required
      ></textarea>
    </div>

    <p
      id="success-message"
      style="display:none; color: green;"
    >
      Your message was sent successfully.
    </p>

    <p
      id="error-message"
      style="display:none; color: red;"
    >
      Something went wrong. Please try again.
    </p>

    <button type="submit" id="submit-btn">
      Send Message
    </button>

  </form>
</div>

<script>
  const form = document.getElementById(
    'contact-form'
  ) as HTMLFormElement

  const submitBtn = document.getElementById(
    'submit-btn'
  ) as HTMLButtonElement

  const successMsg = document.getElementById(
    'success-message'
  ) as HTMLParagraphElement

  const errorMsg = document.getElementById(
    'error-message'
  ) as HTMLParagraphElement

  form.addEventListener('submit', async (e) => {
    e.preventDefault()

    submitBtn.textContent = 'Sending...'
    submitBtn.disabled = true
    successMsg.style.display = 'none'
    errorMsg.style.display = 'none'

    const formData = new FormData(form)
    const data = Object.fromEntries(
      formData.entries()
    )

    try {
      const response = await fetch(
        'https://formgrid.dev/api/f/your-form-id',
        {
          method: 'POST',
          headers: {
            'Content-Type': 'application/json',
          },
          body: JSON.stringify(data),
        }
      )

      if (response.ok) {
        form.reset()
        successMsg.style.display = 'block'
      } else {
        errorMsg.style.display = 'block'
      }
    } catch {
      errorMsg.style.display = 'block'
    } finally {
      submitBtn.textContent = 'Send Message'
      submitBtn.disabled = false
    }
  })
</script>
Replace your-form-id with the actual endpoint slug from your Formgrid overview tab.
Now import the component on any page:
---
// src/pages/contact.astro
import ContactForm from
  '../components/ContactForm.astro'
---

<html lang="en">
  <head>
    <meta charset="UTF-8" />
    <title>Contact</title>
  </head>
  <body>
    <h1>Get In Touch</h1>
    <ContactForm />
  </body>
</html>
Step 5: Receive Submissions Instantly
Whenever someone submits your form you will receive an email notification that looks like this:
New Submission: Astro Contact Form

Name: Allen Jones
Email: allen@example.com
Message: Hi, I would love to work
         with you on my next project.

Submitted: 10:30 AM, April 9, 2026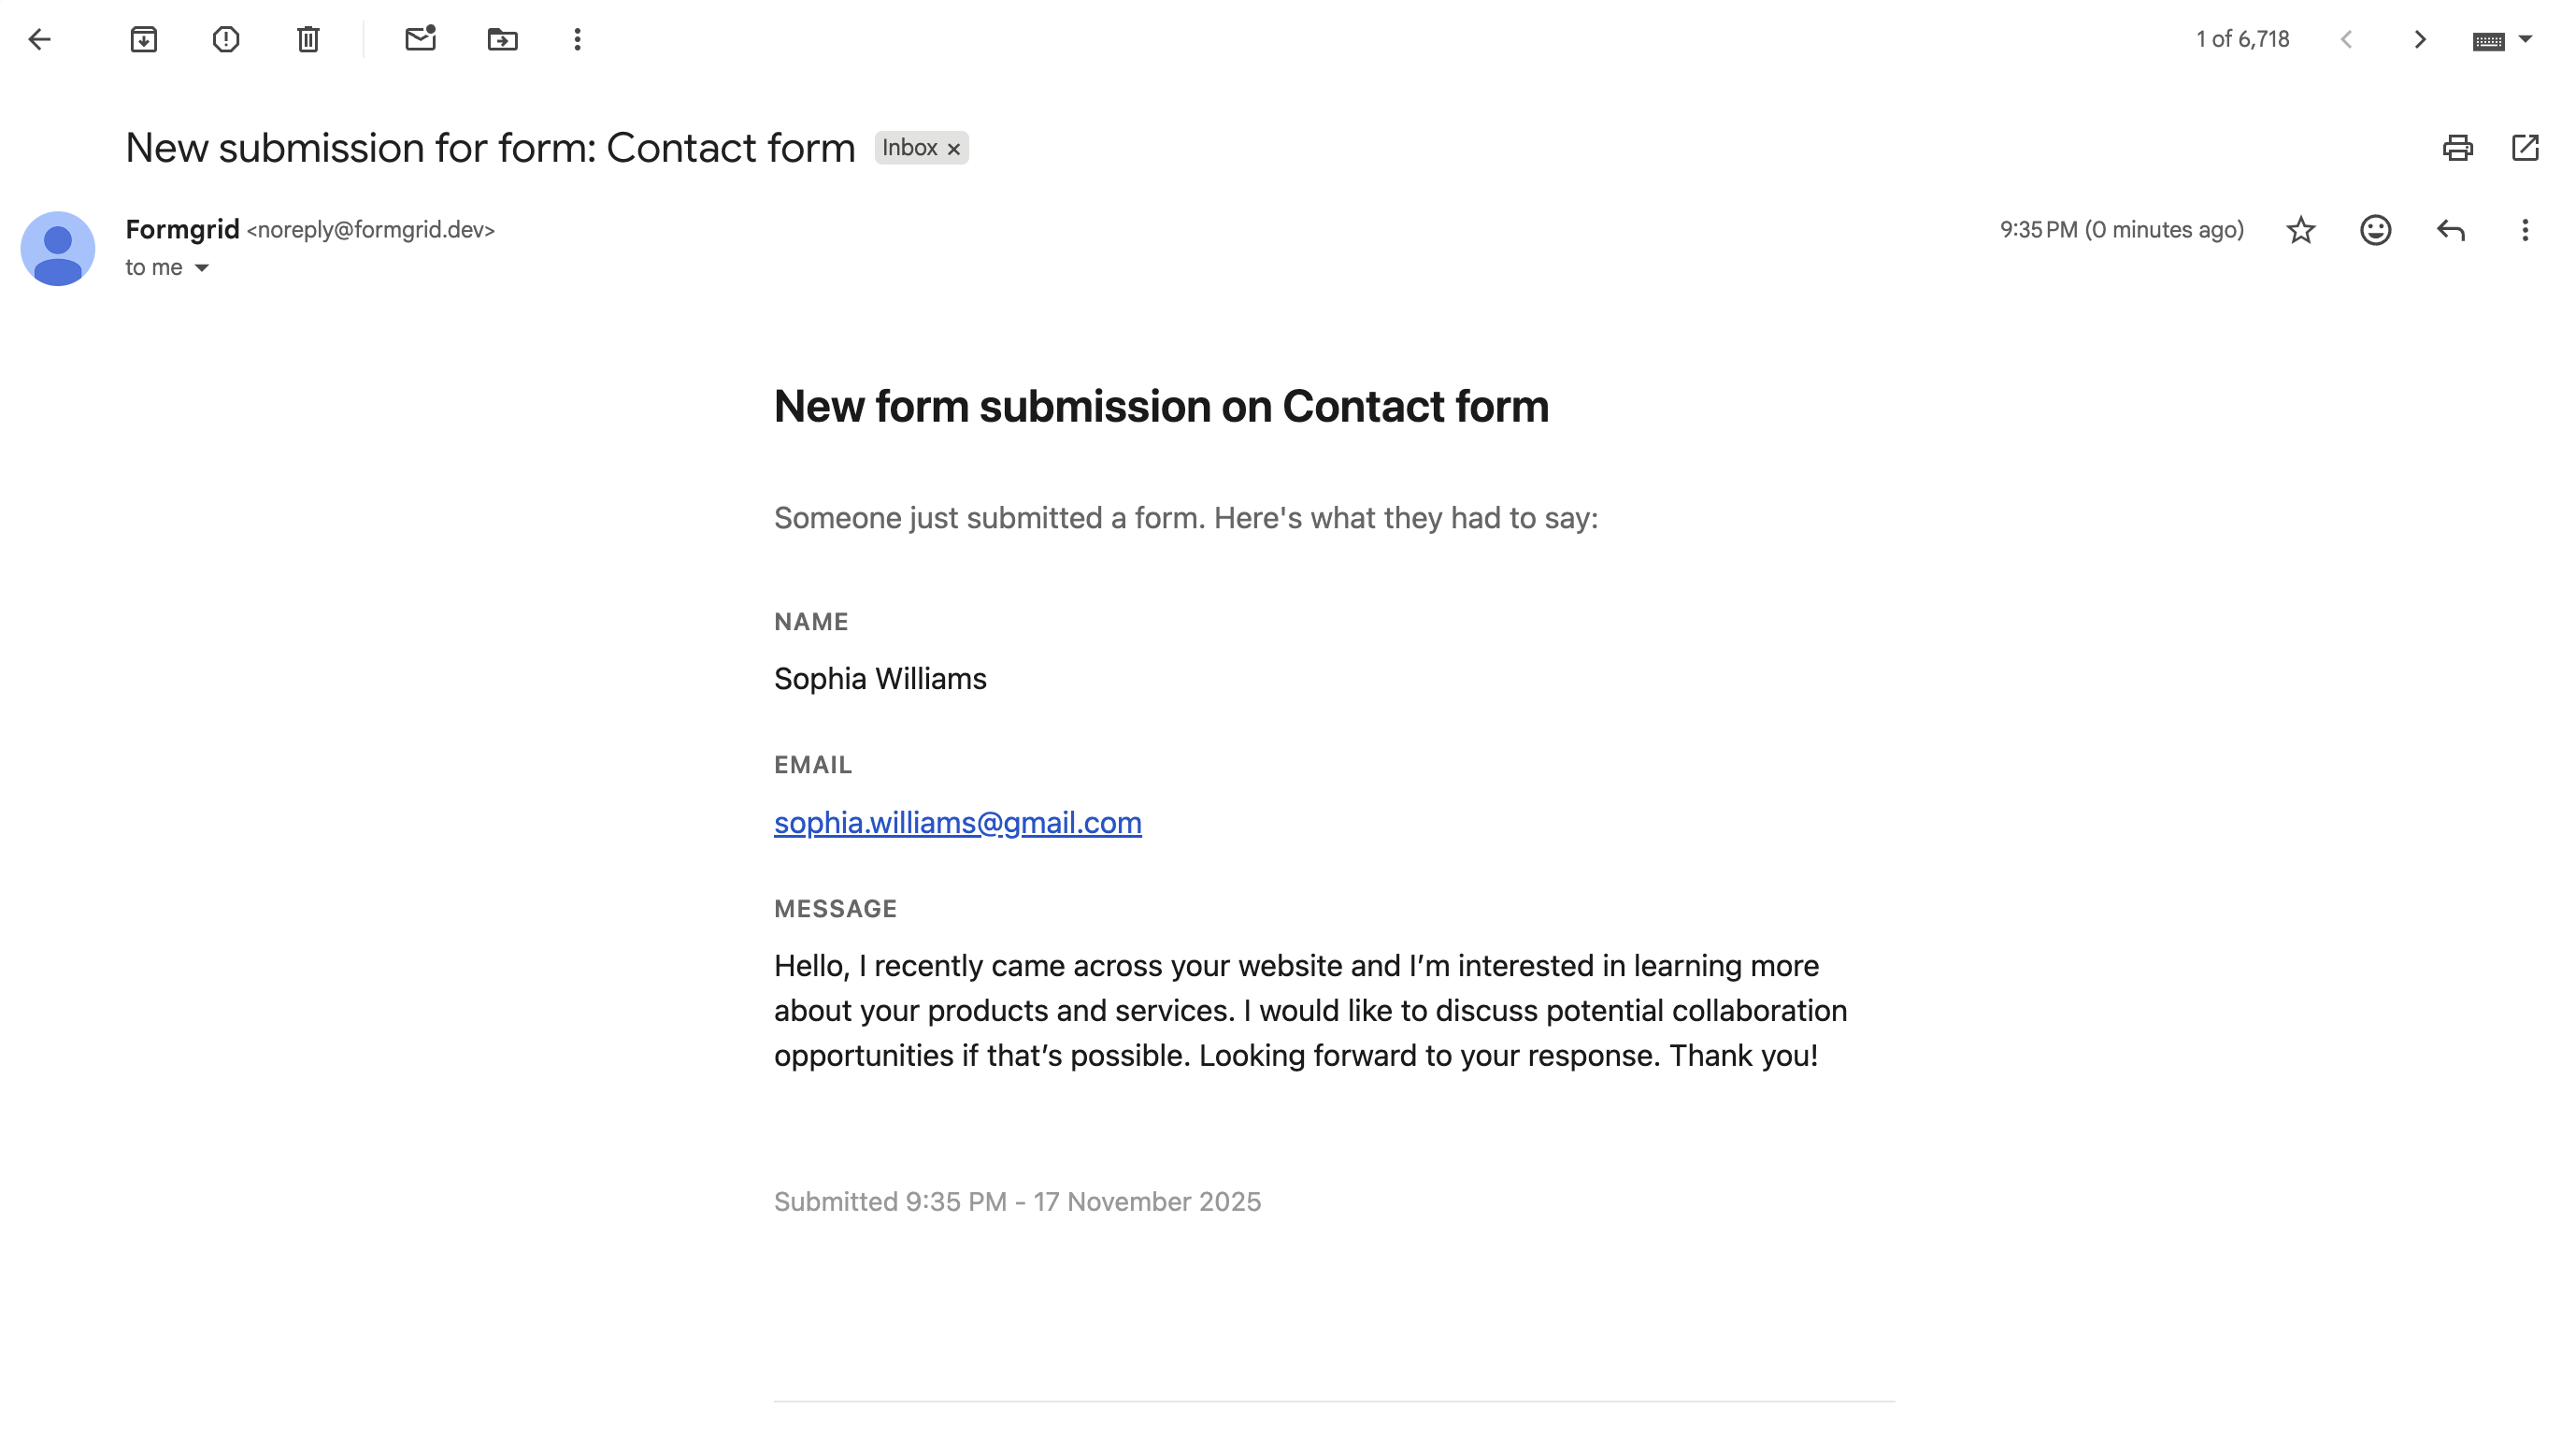
Clean. Organized. Ready to act on.
You can also view all submissions in your Formgrid dashboard at any time.
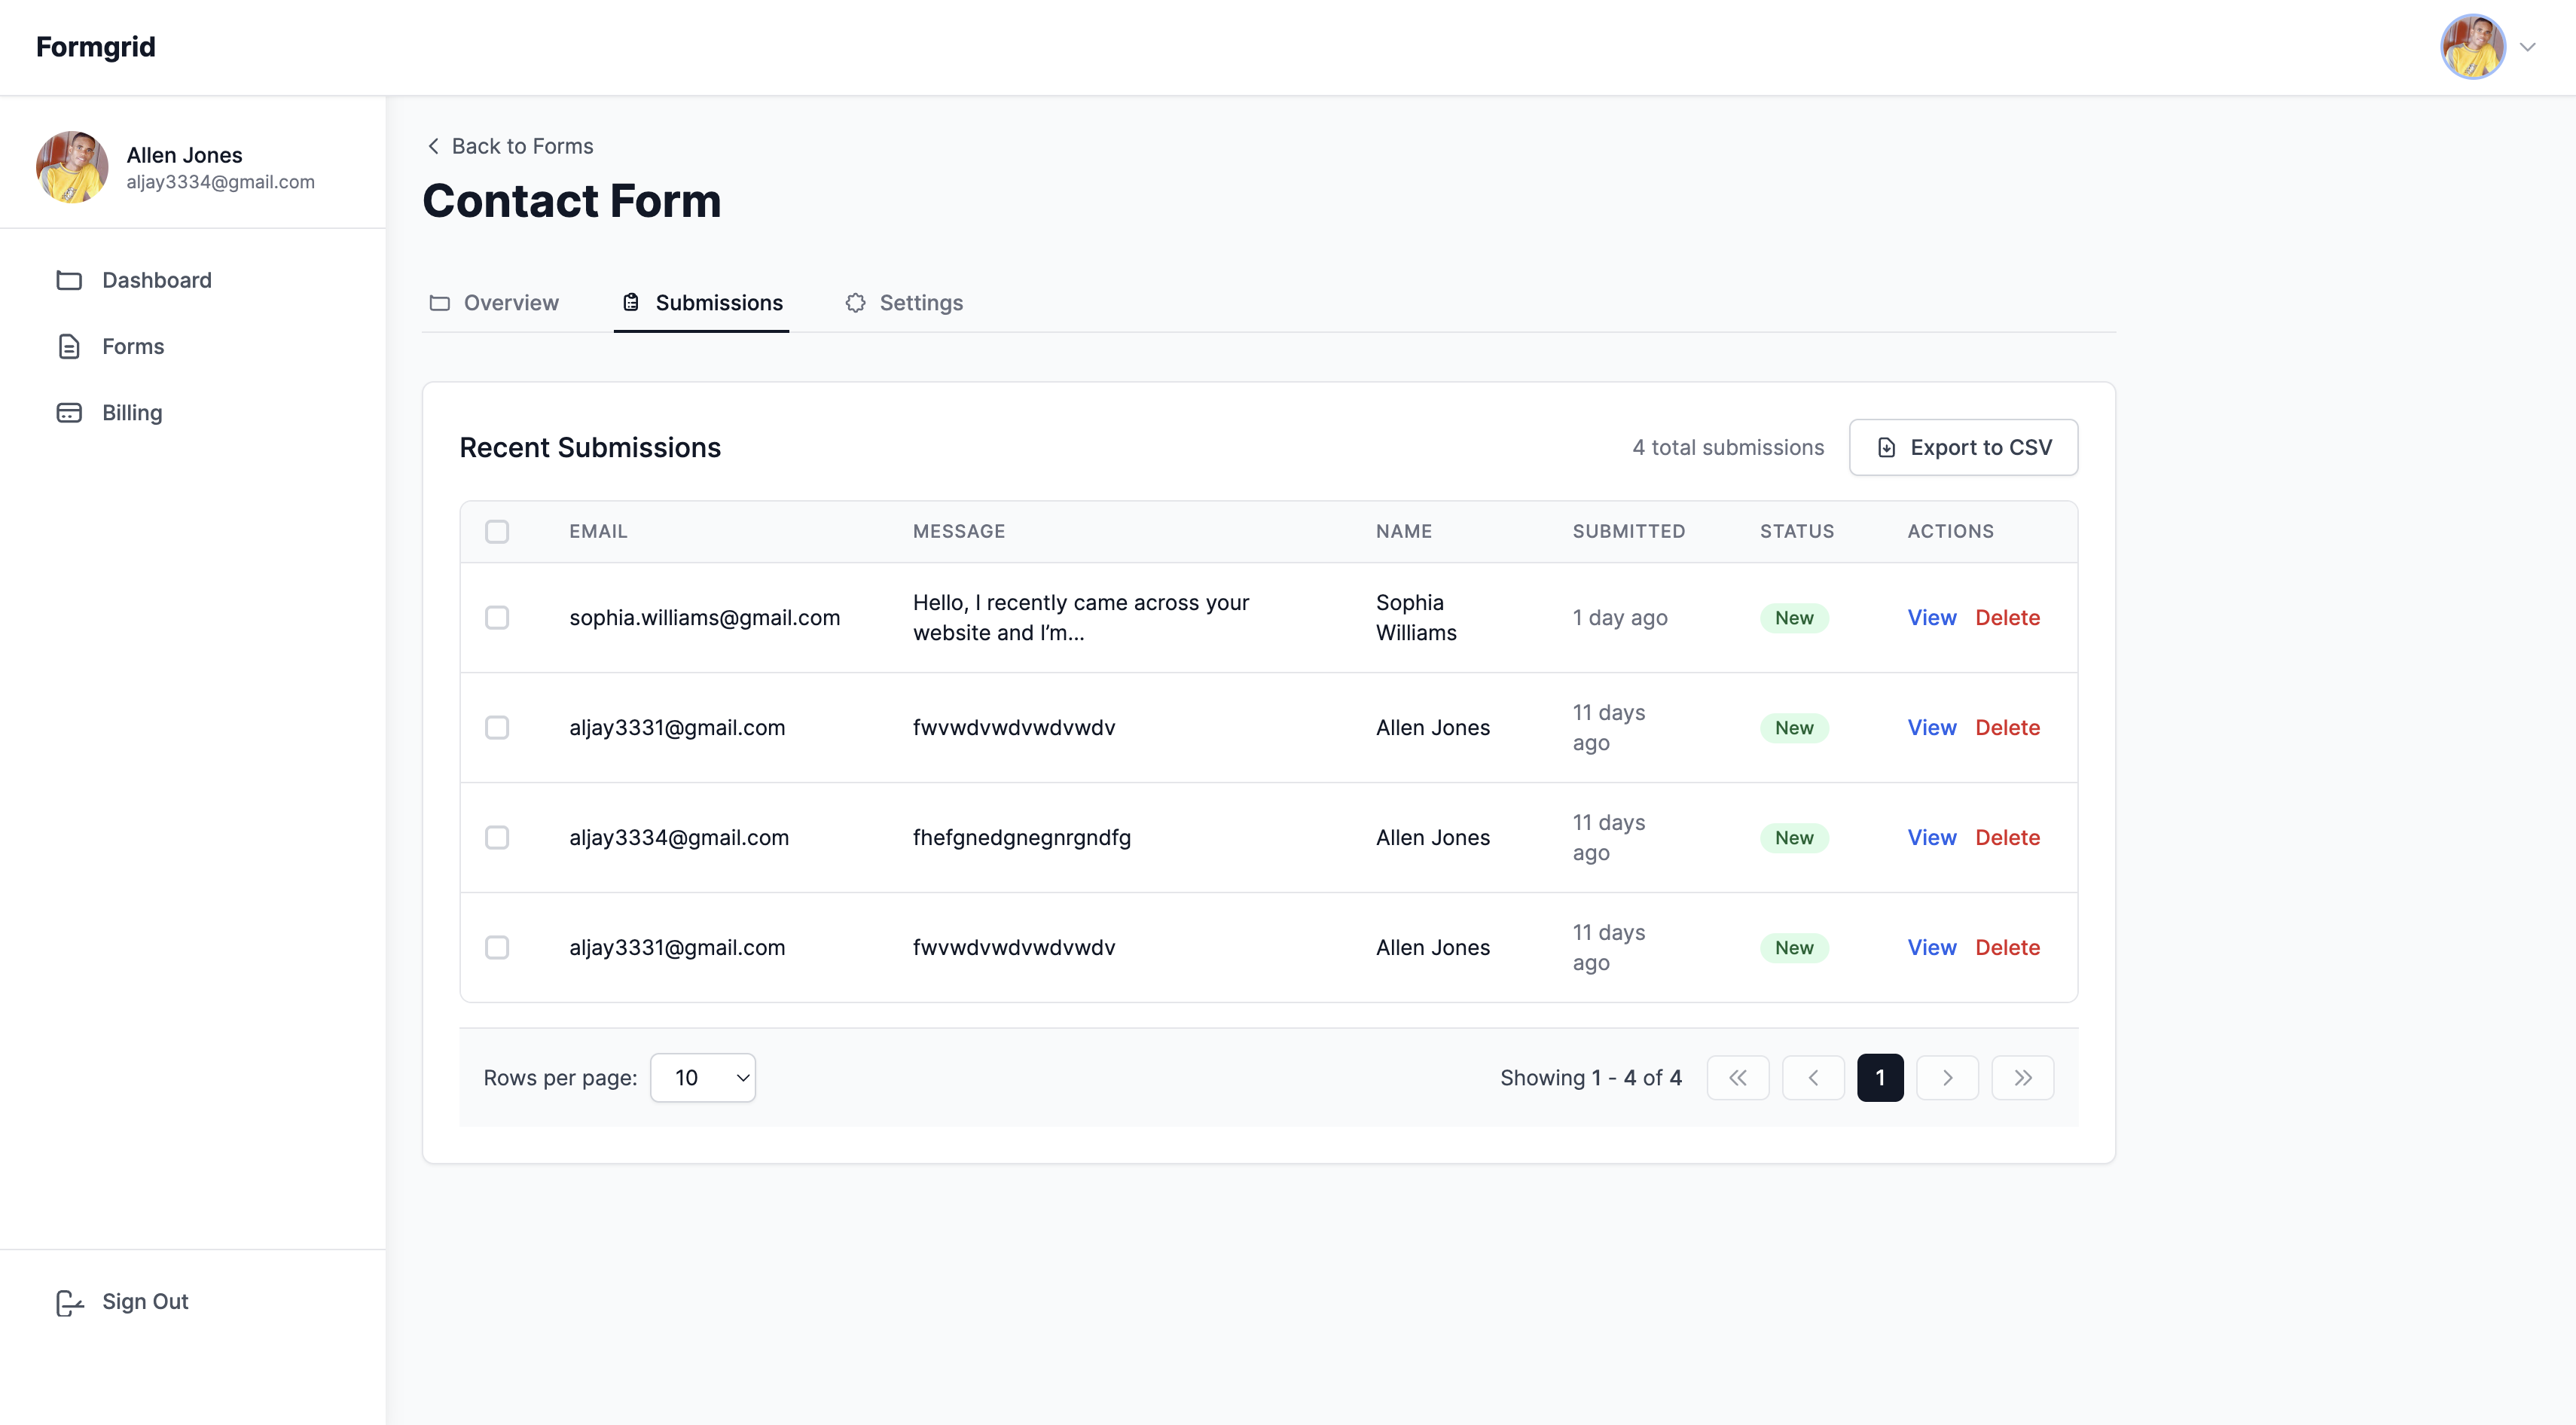
Every submission is saved to your dashboard regardless of whether the email was delivered. You never lose a submission.
Bonus: Send Astro Form Submissions
to Google Sheets
If you want every form submission to automatically appear as a new row in a Google Sheet with no Zapier and no API setup, Google Sheets sync is available on all plans. Premium at $12/month syncs up to 500 rows per month. Business at $29/month includes unlimited sync.
Here is how it works:
Share a Google Sheet with the Formgrid service account email address. Paste the sheet URL into your form settings. Done. Every submission flows in automatically as a new row.
Column headers are created from your form field names on the very first submission, so you do not need to set anything up in the spreadsheet.
When to Use a Form Service
vs Building Your Own Backend
Use Formgrid if:
You need a simple contact or enquiry form. You do not want to build or maintain a backend. You want instant email notifications. You want spam protection without configuration. You are deploying a static Astro site. You want submissions saved to a dashboard automatically.
Build your own backend if:
You need custom authentication logic. You need advanced server-side validation. You want to store submissions in your own database. You are building a full SaaS application with complex form workflows.
For 90% of Astro portfolios, landing pages, and client websites, a form service is more than enough.
Formgrid Plans and Pricing
Free plan ($0/month): 25 submissions per month, unlimited forms, email notifications, Google Sheets sync (first 10 rows per form, one time), and spam protection.
Premium plan ($12/month): 1,000 submissions per month, Google Sheets sync (up to 500 rows per month), file uploads up to 1GB per file, CSV export, and remove Formgrid branding.
Business plan ($29/month): 15,000 submissions per month, unlimited Google Sheets sync, custom HTML email templates, auto-responder emails, webhooks, and priority support.
No contracts. Cancel at any time.
Final Thoughts
Handling form submissions in an Astro site without a backend used to mean hacks, expensive services, or deploying a server you did not need.
With Formgrid, you can:
Build a working contact form in under 5 minutes. Receive submissions instantly by email. Avoid all backend code entirely. Self-host if you want full data control. Connect to Google Sheets automatically (free plan includes limited sync; Premium at $12/month; Business at $29/month for unlimited sync).
If you want a simple, open source, privacy-first way to handle form submissions in your Astro site, give Formgrid a try.
👉 Try Formgrid free at formgrid.dev
👉 GitHub: github.com/allenarduino/formgrid
Full disclosure: I built Formgrid. Written as honestly as I could. Let me know in the comments if anything looks off.
Comments
Leave a comment