If you are building a Vue.js application and need to handle contact form submissions, the standard approach involves setting up a backend server, configuring email sending, managing environment variables, and deploying server-side code.
That is a lot of infrastructure for what is essentially a contact form.
In this tutorial, I will show you how to handle Vue.js form submissions without any backend using Formgrid. Every submission gets stored in a dashboard, triggers an instant email notification, becomes a tracked lead in a pipeline, and optionally syncs to Google Sheets automatically.
No server. No Node.js backend. No email configuration. Just a Vue.js form and a Formgrid endpoint URL.
What You Are Building
A fully functional contact form in Vue.js that:
Sends form data to Formgrid on submission. Triggers an instant email notification with the submission details. Stores every submission as a tracked lead in your Formgrid dashboard. Shows a loading state while submitting. Shows a success message after submission. Blocks bots with a honeypot field.
Prerequisites
Basic knowledge of Vue.js and JavaScript. A free Formgrid account at formgrid.dev.
Step 1: Create Your Vue.js Project
If you do not have a Vue.js project yet create one now:
npm create vue@latest vue-formgrid-contact
cd vue-formgrid-contact
npm install
npm run dev
Open localhost:5173 and confirm the default Vue.js page loads.
Step 2: Create Your Formgrid Account and Form
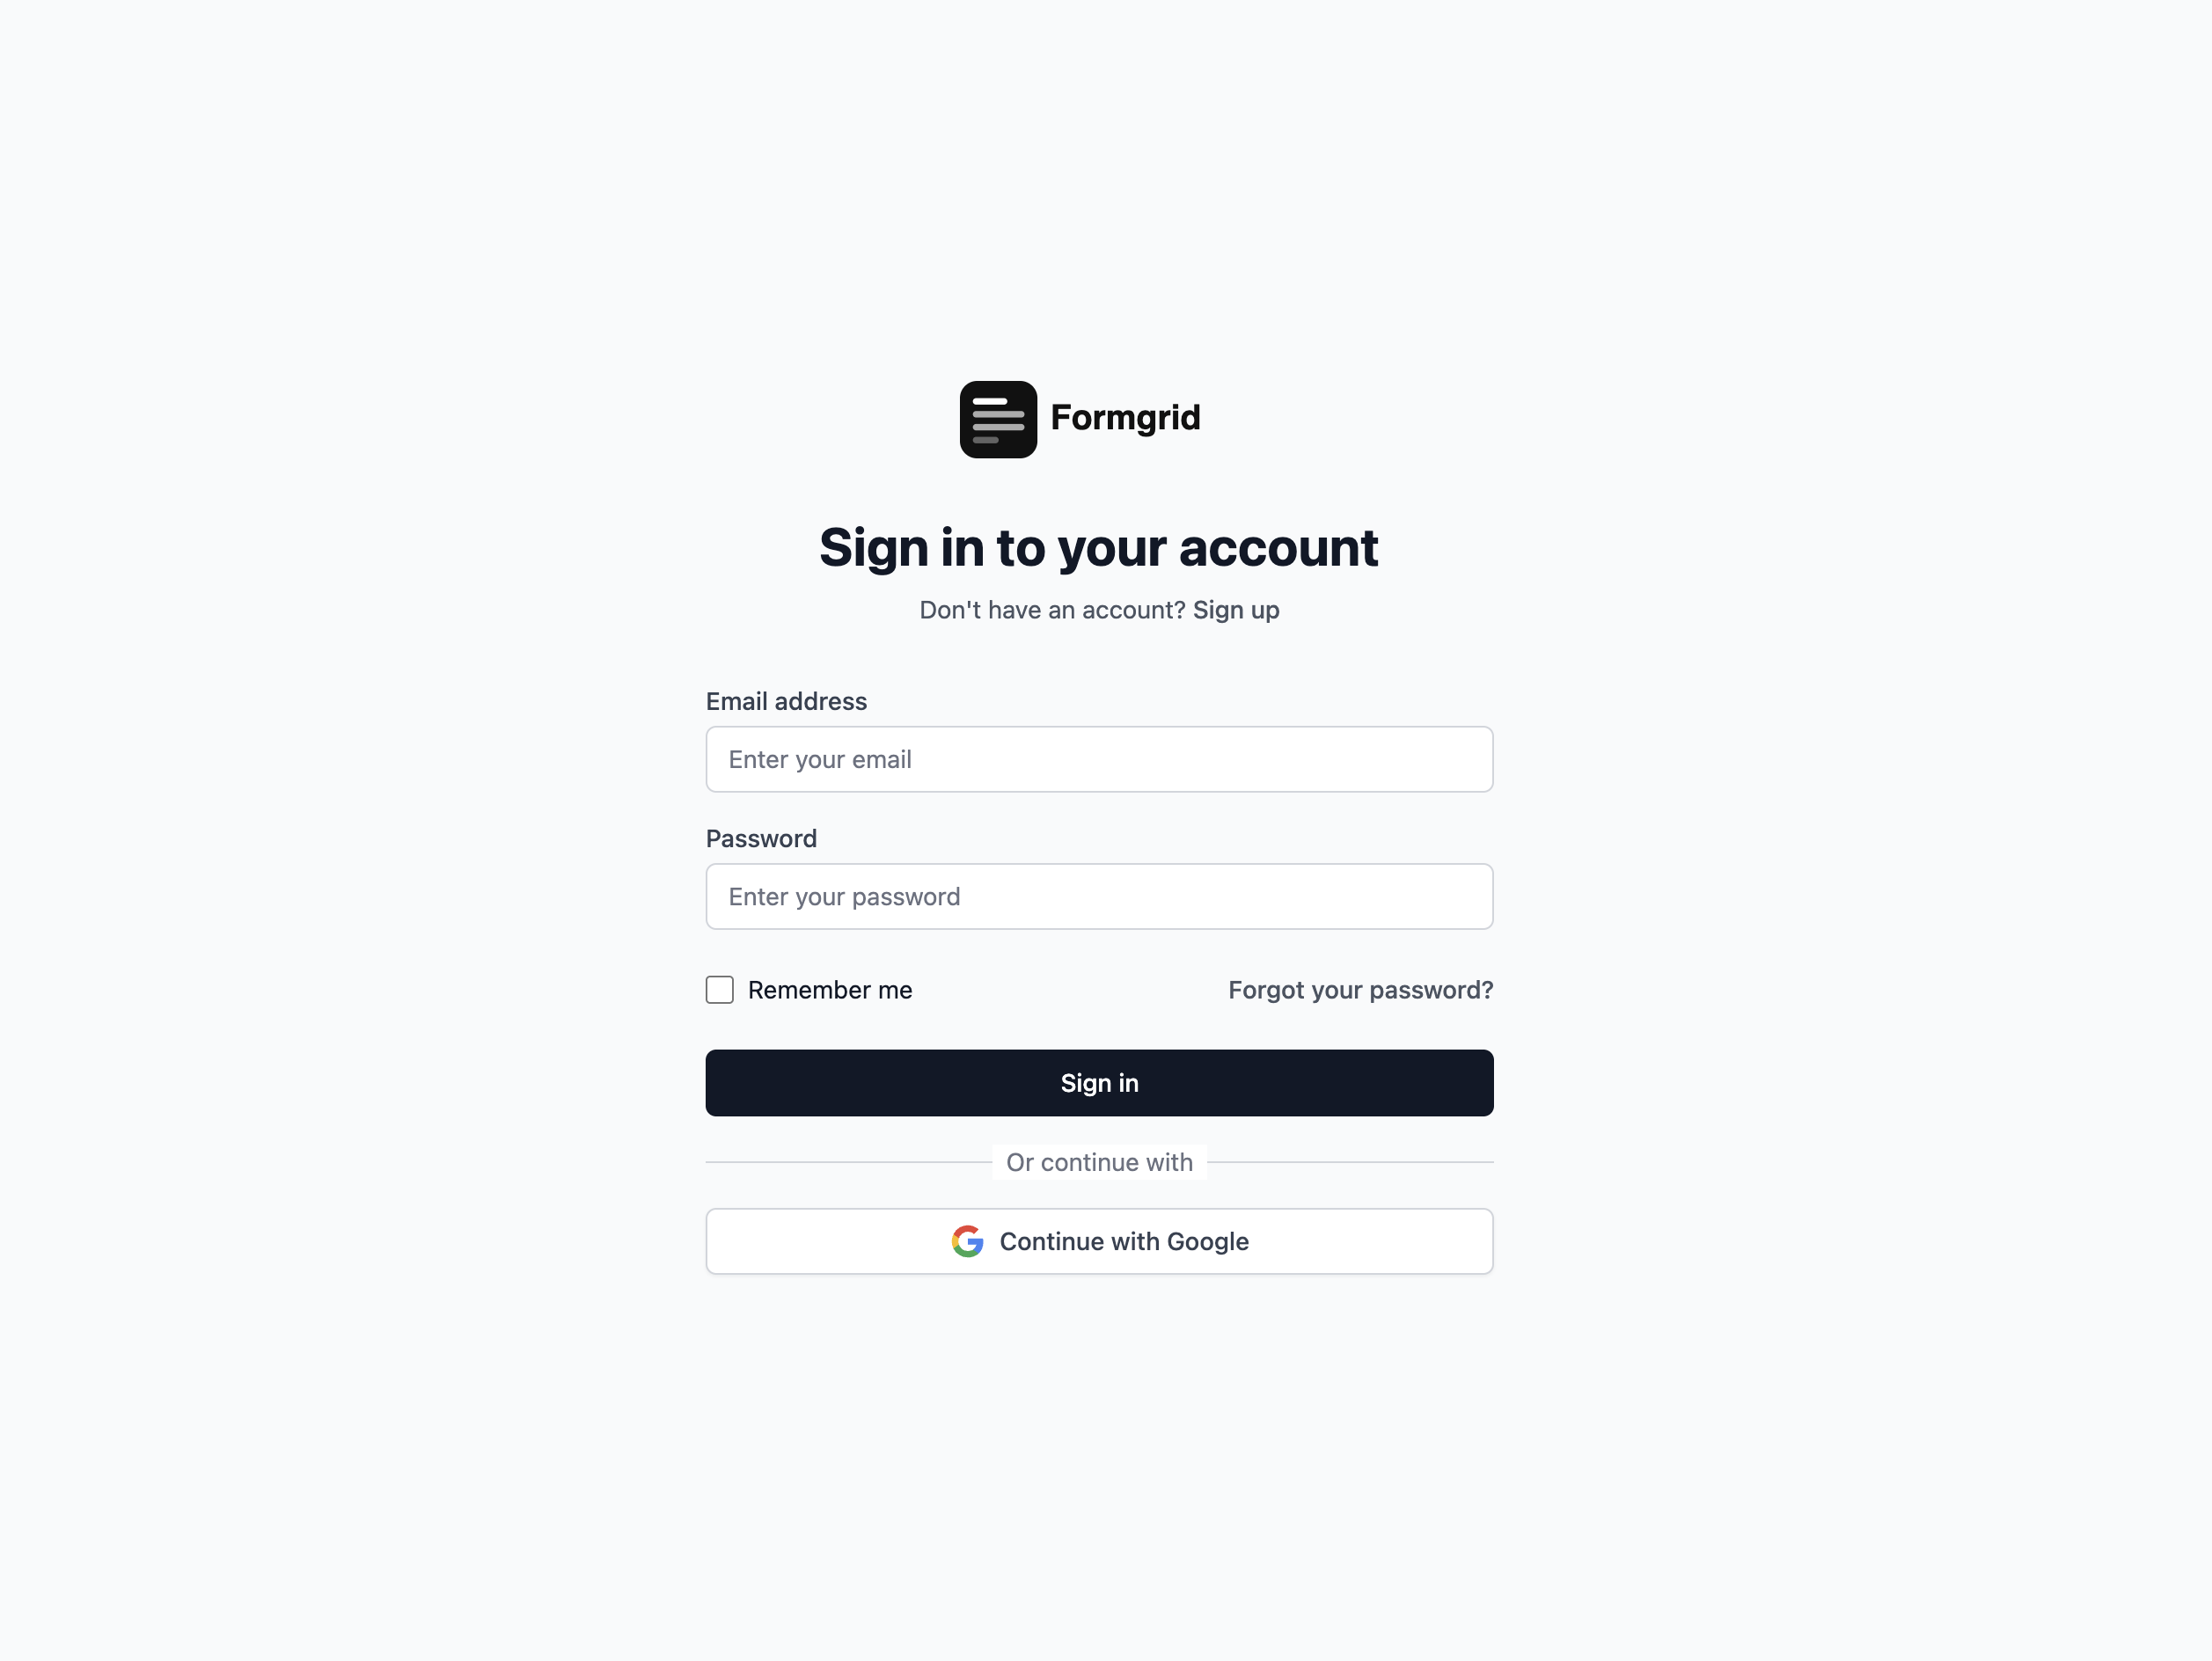
Go to formgrid.dev and sign up using Google or email. No credit card required.
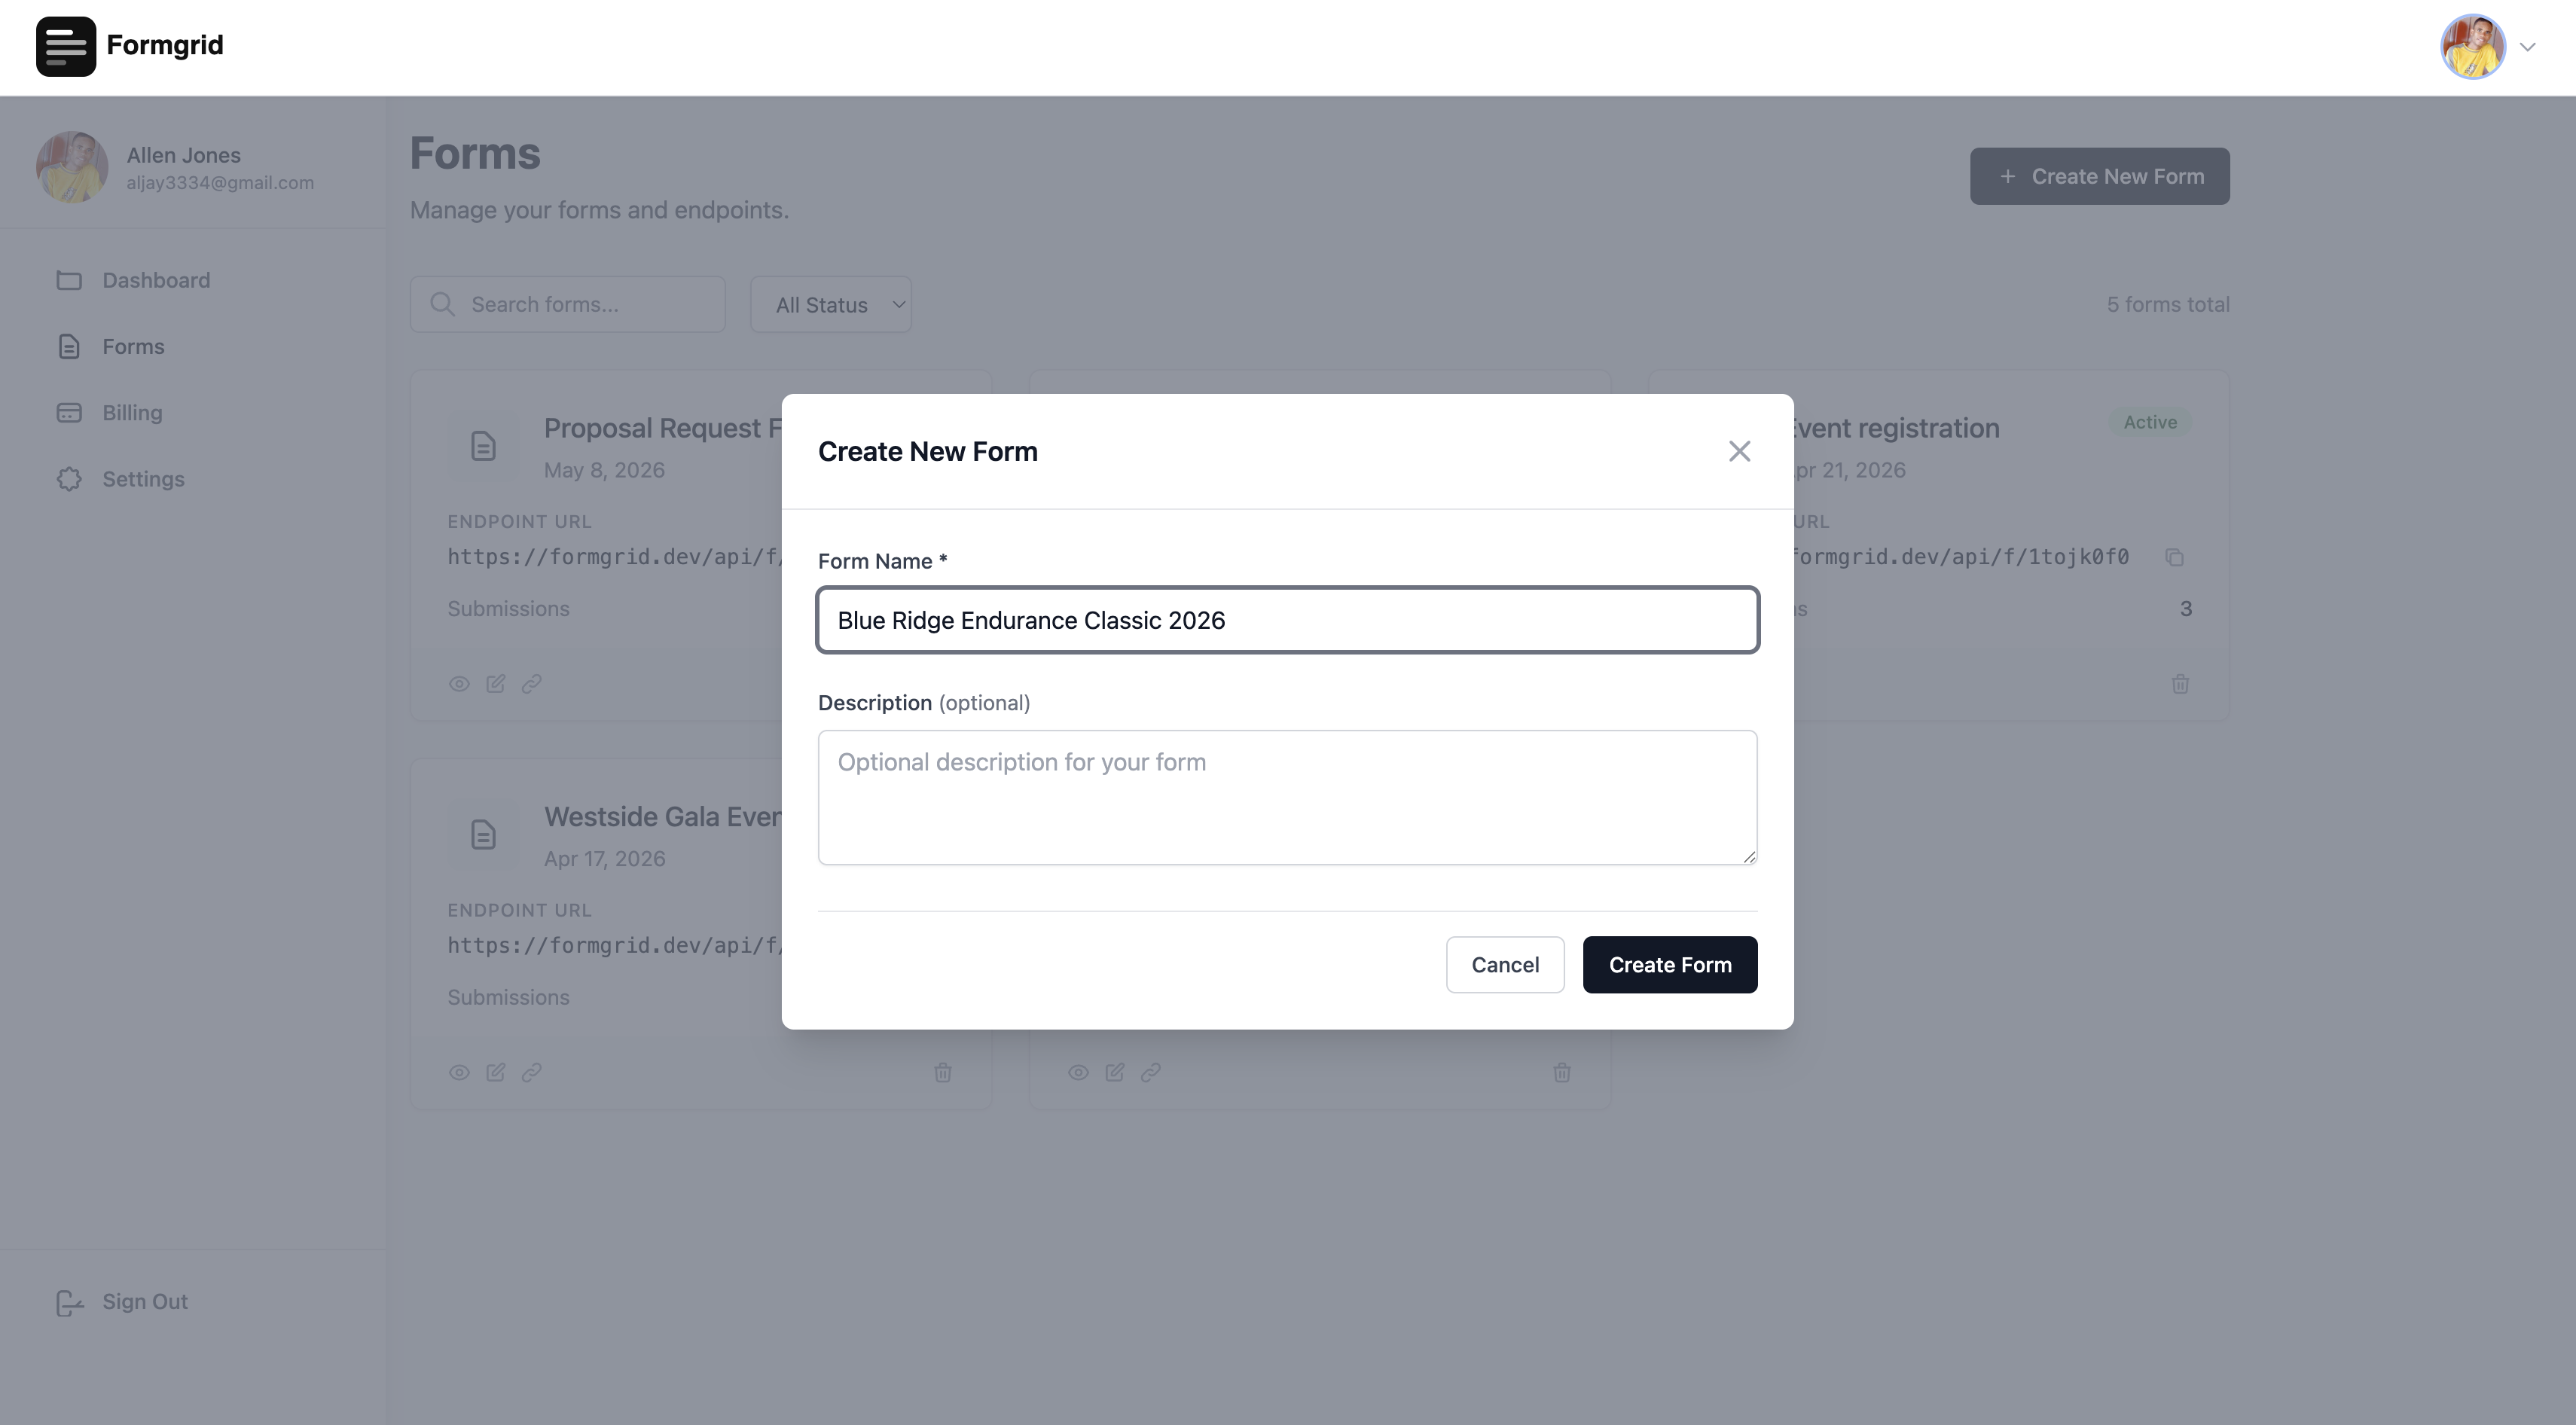
Once logged in click New Form from your dashboard and give your form a name. Something like "Vue Contact Form" or "Website Enquiries". Click Create Form.
You will be taken to your form's Overview tab. Here you will find your unique Endpoint URL. Copy it. It looks like this:
https://formgrid.dev/api/f/your-form-id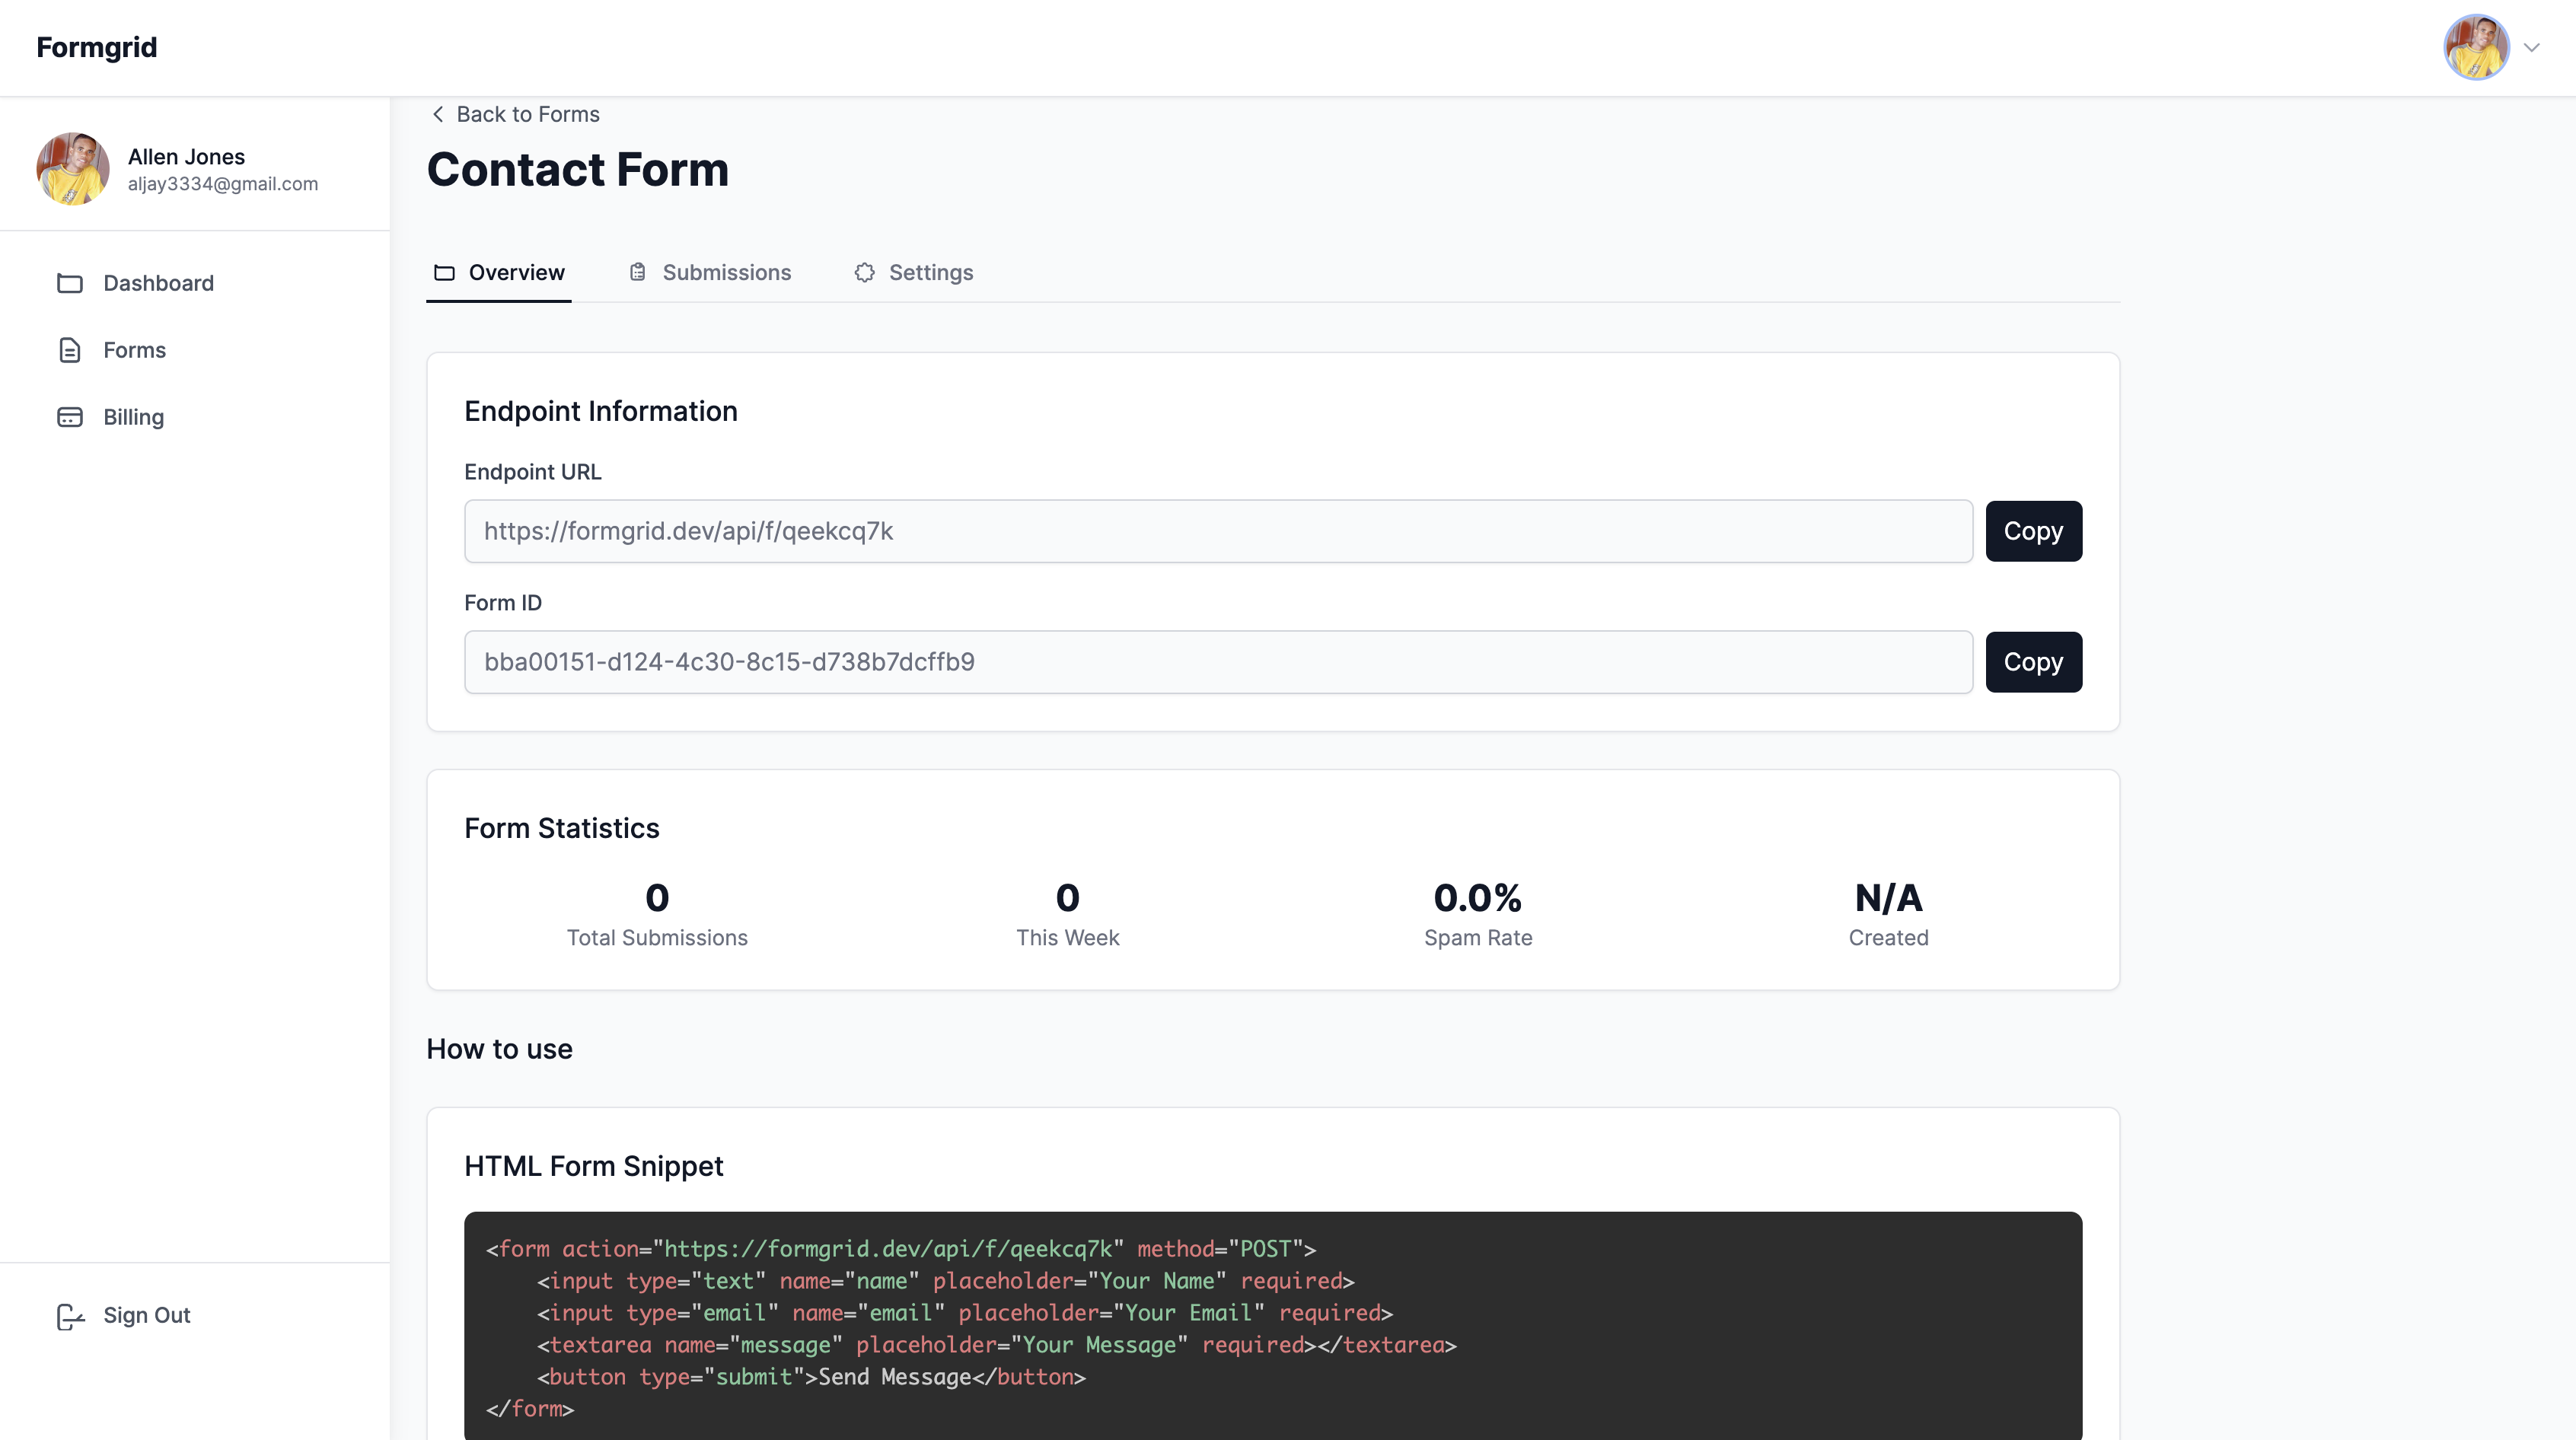
This is the URL you will send your form data to. Every time someone submits your form the data goes to this endpoint and Formgrid emails you the submission details instantly.
Step 3: Create the Contact Form Component
In your Vue.js project create a new file called ContactForm.vue inside the src/components folder:
<!-- src/components/ContactForm.vue -->
<template>
  <div class="form-wrapper">
    <div v-if="submitted" class="success-message">
      <svg xmlns="http://www.w3.org/2000/svg" width="48" height="48" fill="none" stroke="#0d9488" stroke-width="2" stroke-linecap="round" stroke-linejoin="round" viewBox="0 0 24 24">
        <path d="M22 11.08V12a10 10 0 1 1-5.93-9.14"/>
        <polyline points="22 4 12 14.01 9 11.01"/>
      </svg>
      <h2>Message sent successfully</h2>
      <p>We will get back to you within 24 hours.</p>
    </div>

    <form v-else @submit.prevent="handleSubmit">
      <h2>Contact Us</h2>
      <p>Any questions or remarks? Just write us a message.</p>

      <div class="field">
        <label for="name">Name</label>
        <input
          id="name"
          v-model="form.name"
          type="text"
          placeholder="Allen Jones"
          required
        />
      </div>

      <div class="field">
        <label for="email">Email</label>
        <input
          id="email"
          v-model="form.email"
          type="email"
          placeholder="allen@example.com"
          required
        />
      </div>

      <div class="field">
        <label for="phone">Phone <span class="optional">(optional)</span></label>
        <input
          id="phone"
          v-model="form.phone"
          type="tel"
          placeholder="+1 555 000 0000"
        />
      </div>

      <div class="field">
        <label for="message">Message</label>
        <textarea
          id="message"
          v-model="form.message"
          placeholder="Write your message here"
          rows="5"
          required
        />
      </div>

      <!-- Honeypot field: hidden from real users, catches bots -->
      <input
        v-model="form.honeypot"
        type="text"
        name="_honey"
        style="display: none"
        tabindex="-1"
        autocomplete="off"
        aria-hidden="true"
      />

      <p v-if="error" class="error-message">{{ error }}</p>

      <button type="submit" :disabled="loading">
        {{ loading ? 'Sending...' : 'Send Message' }}
      </button>
    </form>
  </div>
</template>

<script setup>
import { ref, reactive } from 'vue'

const FORMGRID_ENDPOINT = 'https://formgrid.dev/api/f/your-form-id'

const form = reactive({
  name: '',
  email: '',
  phone: '',
  message: '',
  honeypot: ''
})

const loading = ref(false)
const submitted = ref(false)
const error = ref('')

async function handleSubmit() {
  // If honeypot is filled in it is a bot
  if (form.honeypot) return

  loading.value = true
  error.value = ''

  try {
    const response = await fetch(FORMGRID_ENDPOINT, {
      method: 'POST',
      headers: {
        'Content-Type': 'application/json',
        'Accept': 'application/json'
      },
      body: JSON.stringify({
        name: form.name,
        email: form.email,
        phone: form.phone,
        message: form.message
      })
    })

    if (response.ok) {
      submitted.value = true
    } else {
      error.value = 'Something went wrong. Please try again.'
    }
  } catch {
    error.value = 'Something went wrong. Please try again.'
  } finally {
    loading.value = false
  }
}
</script>

<style scoped>
.form-wrapper {
  max-width: 540px;
  margin: 60px auto;
  padding: 40px;
  background: #ffffff;
  border-radius: 12px;
  box-shadow: 0 4px 24px rgba(0, 0, 0, 0.08);
  font-family: system-ui, sans-serif;
}

h2 {
  font-size: 1.5rem;
  font-weight: 700;
  color: #0d1117;
  margin: 0 0 8px;
}

p {
  color: #6b7a8d;
  font-size: 0.9rem;
  margin: 0 0 24px;
}

.field {
  margin-bottom: 20px;
}

label {
  display: block;
  font-size: 0.75rem;
  font-weight: 600;
  text-transform: uppercase;
  letter-spacing: 0.1em;
  color: #0d1117;
  margin-bottom: 6px;
}

.optional {
  font-weight: 400;
  text-transform: none;
  letter-spacing: normal;
  color: #6b7a8d;
}

input,
textarea {
  width: 100%;
  padding: 10px 14px;
  border: 1px solid #e2e8f0;
  border-radius: 8px;
  font-size: 0.95rem;
  color: #0d1117;
  background: #f8f9fb;
  box-sizing: border-box;
  transition: border-color 0.15s ease;
  outline: none;
}

input:focus,
textarea:focus {
  border-color: #0d9488;
  background: #ffffff;
}

textarea {
  resize: vertical;
  min-height: 120px;
}

button {
  width: 100%;
  padding: 12px;
  background: #0d9488;
  color: #ffffff;
  border: none;
  border-radius: 8px;
  font-size: 0.875rem;
  font-weight: 600;
  letter-spacing: 0.05em;
  cursor: pointer;
  transition: background 0.15s ease;
  margin-top: 8px;
}

button:hover:not(:disabled) {
  background: #0f766e;
}

button:disabled {
  opacity: 0.65;
  cursor: not-allowed;
}

.error-message {
  color: #dc2626;
  font-size: 0.875rem;
  margin-bottom: 12px;
}

.success-message {
  text-align: center;
  padding: 20px 0;
}

.success-message svg {
  margin-bottom: 16px;
}

.success-message h2 {
  font-size: 1.25rem;
  color: #0d1117;
  text-align: center;
}

.success-message p {
  text-align: center;
  margin: 8px 0 0;
}
</style>
Replace your-form-id in the FORMGRID_ENDPOINT constant with the actual form ID from your Formgrid form overview tab.
Step 4: Use the Component in Your App
Open src/App.vue and import the ContactForm component:
<!-- src/App.vue -->
<template>
  <div>
    <ContactForm />
  </div>
</template>

<script setup>
import ContactForm from './components/ContactForm.vue'
</script>
Run your development server:
npm run devYou should see the contact form at localhost:5173.
Step 5: Test the Form Submission
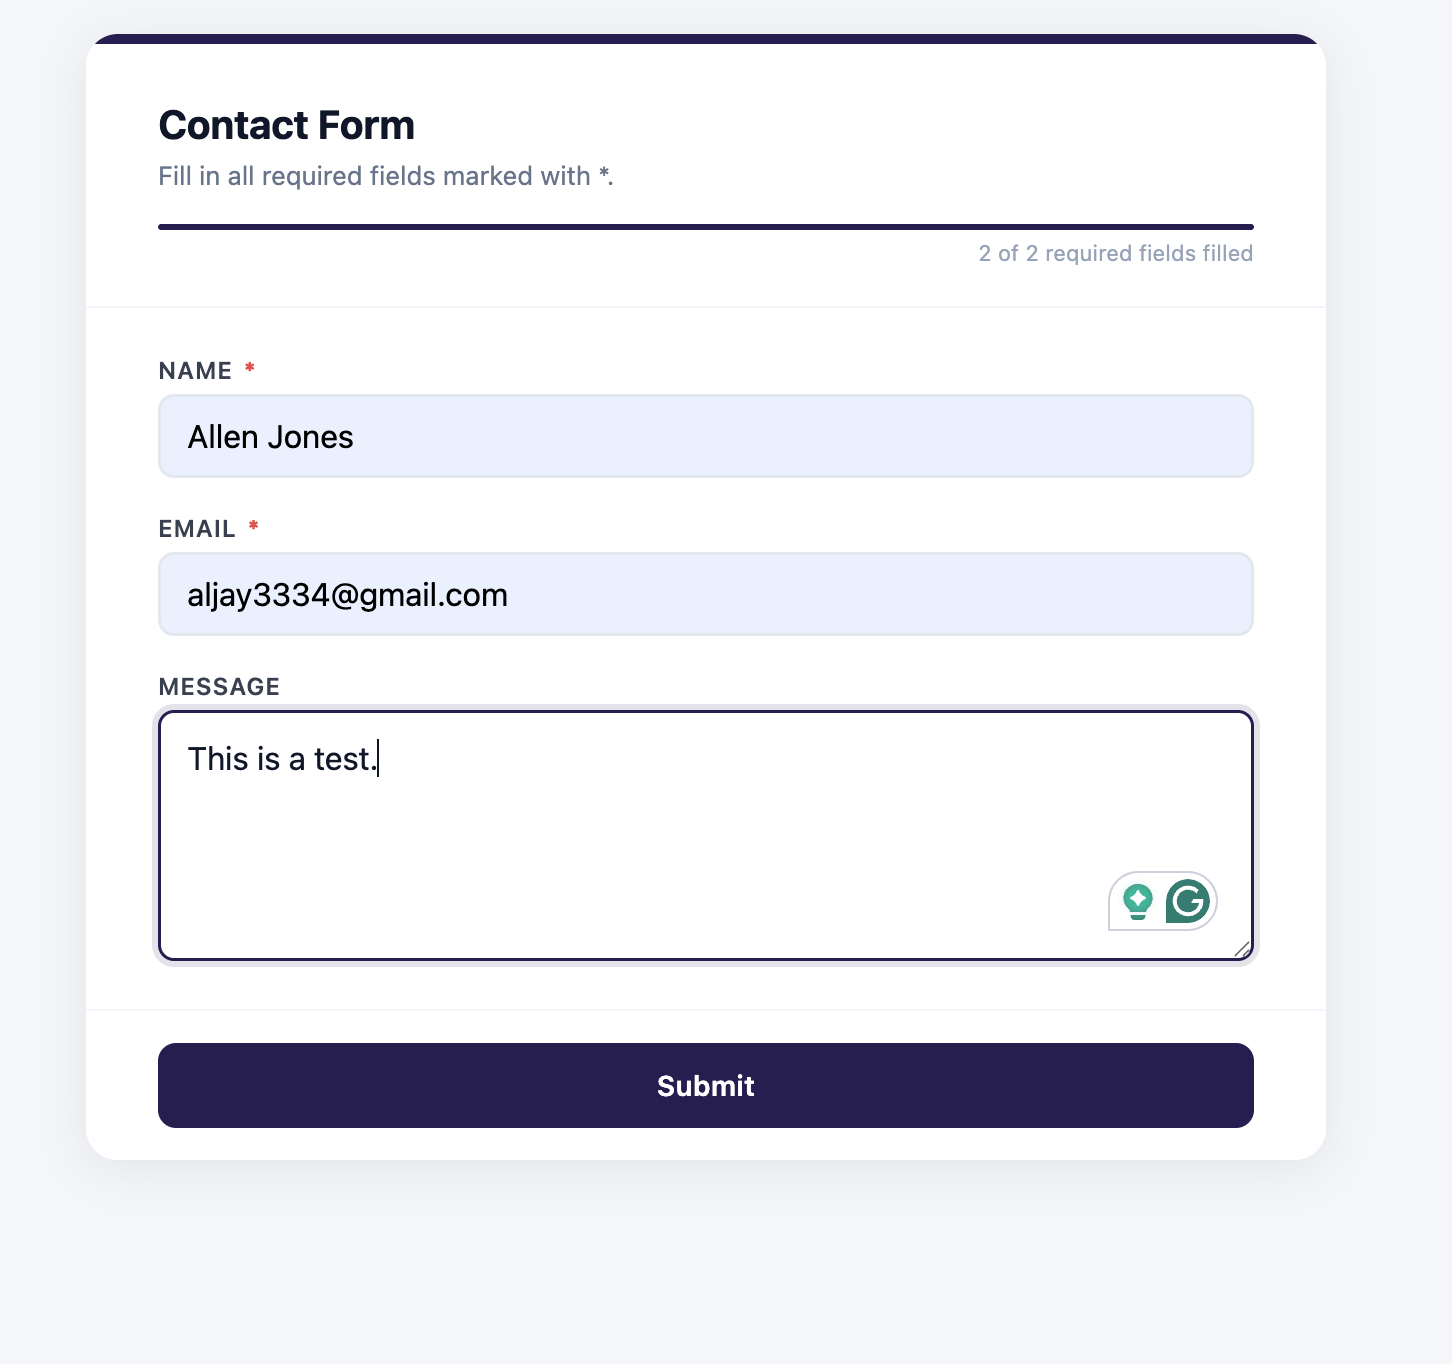
Fill in the form with real looking test data and click Send Message.
Within seconds you should see three things happen.
The success message appears on screen replacing the form.
You receive an instant email notification at your Formgrid signup address with the full submission details formatted cleanly:
New Submission: Vue Contact Form

Name: Allen Jones
Email: allen@example.com
Phone: +1 555 000 0000
Message: This is a test message from my Vue.js form.

Submitted: 10:30 AM, June 16, 2026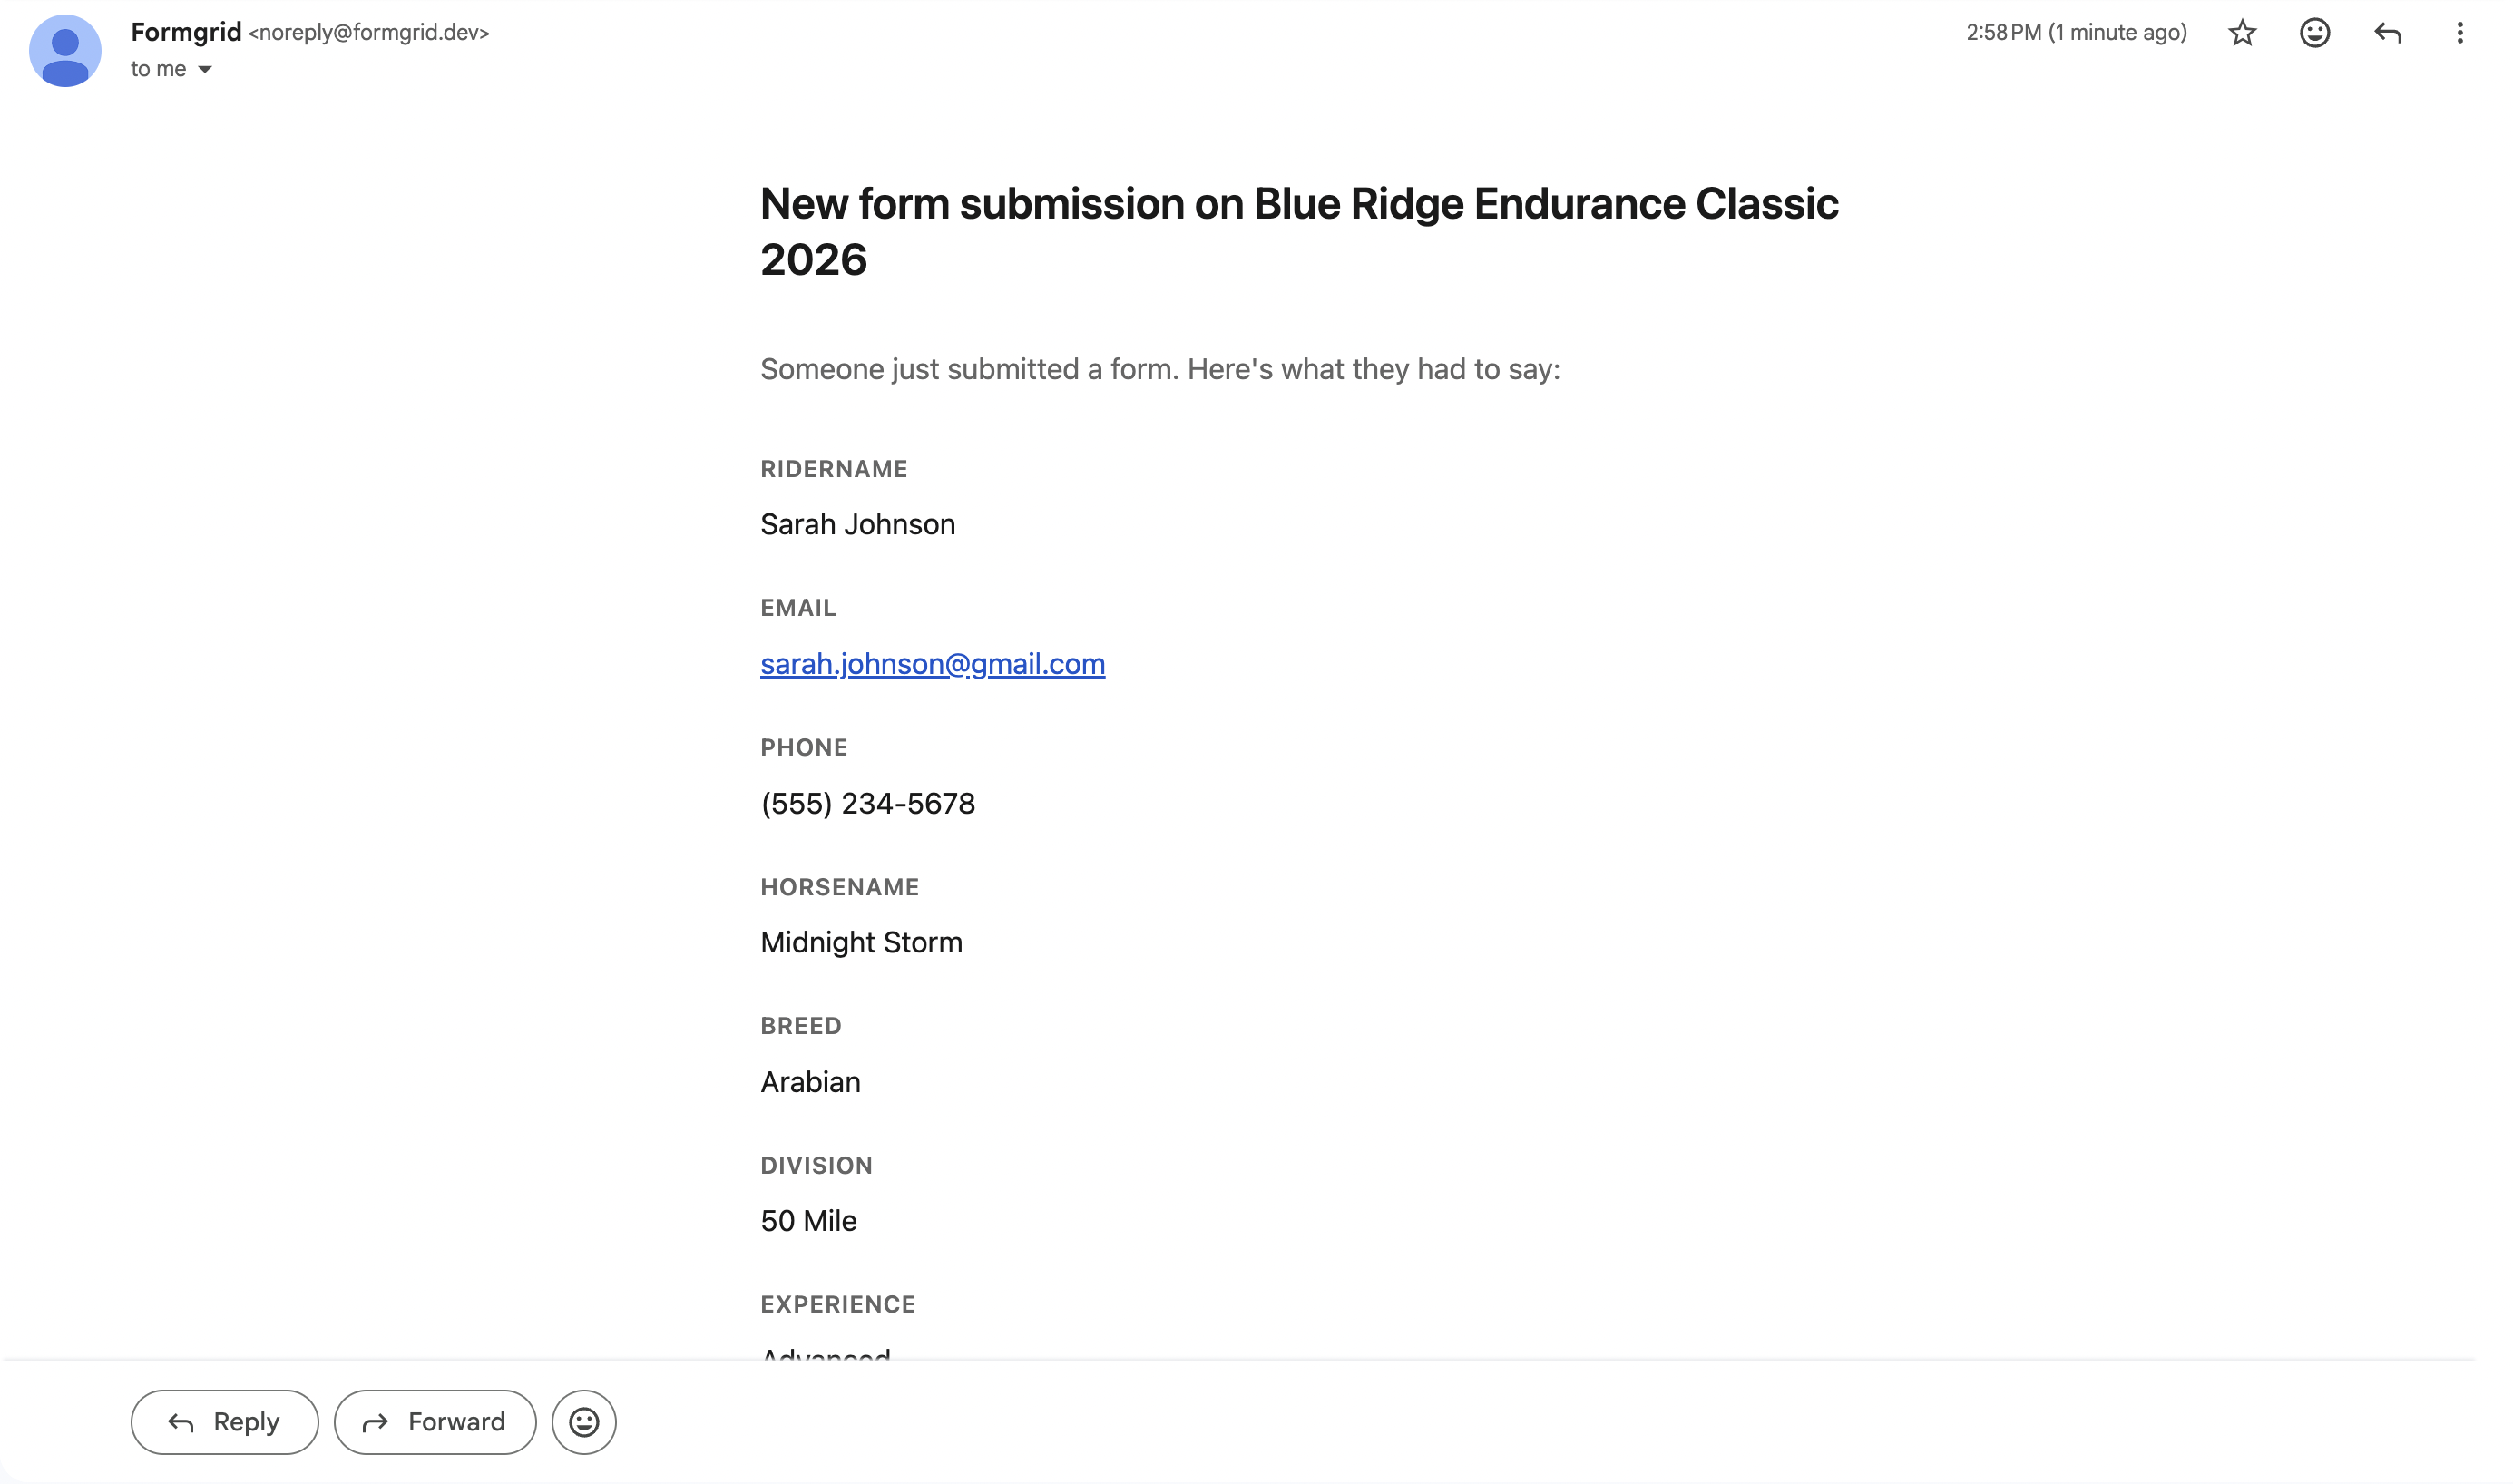
The submission appears in your Formgrid dashboard under the Submissions tab.
Step 6: View the Lead in Your Pipeline
This is where Formgrid goes beyond a basic form backend.
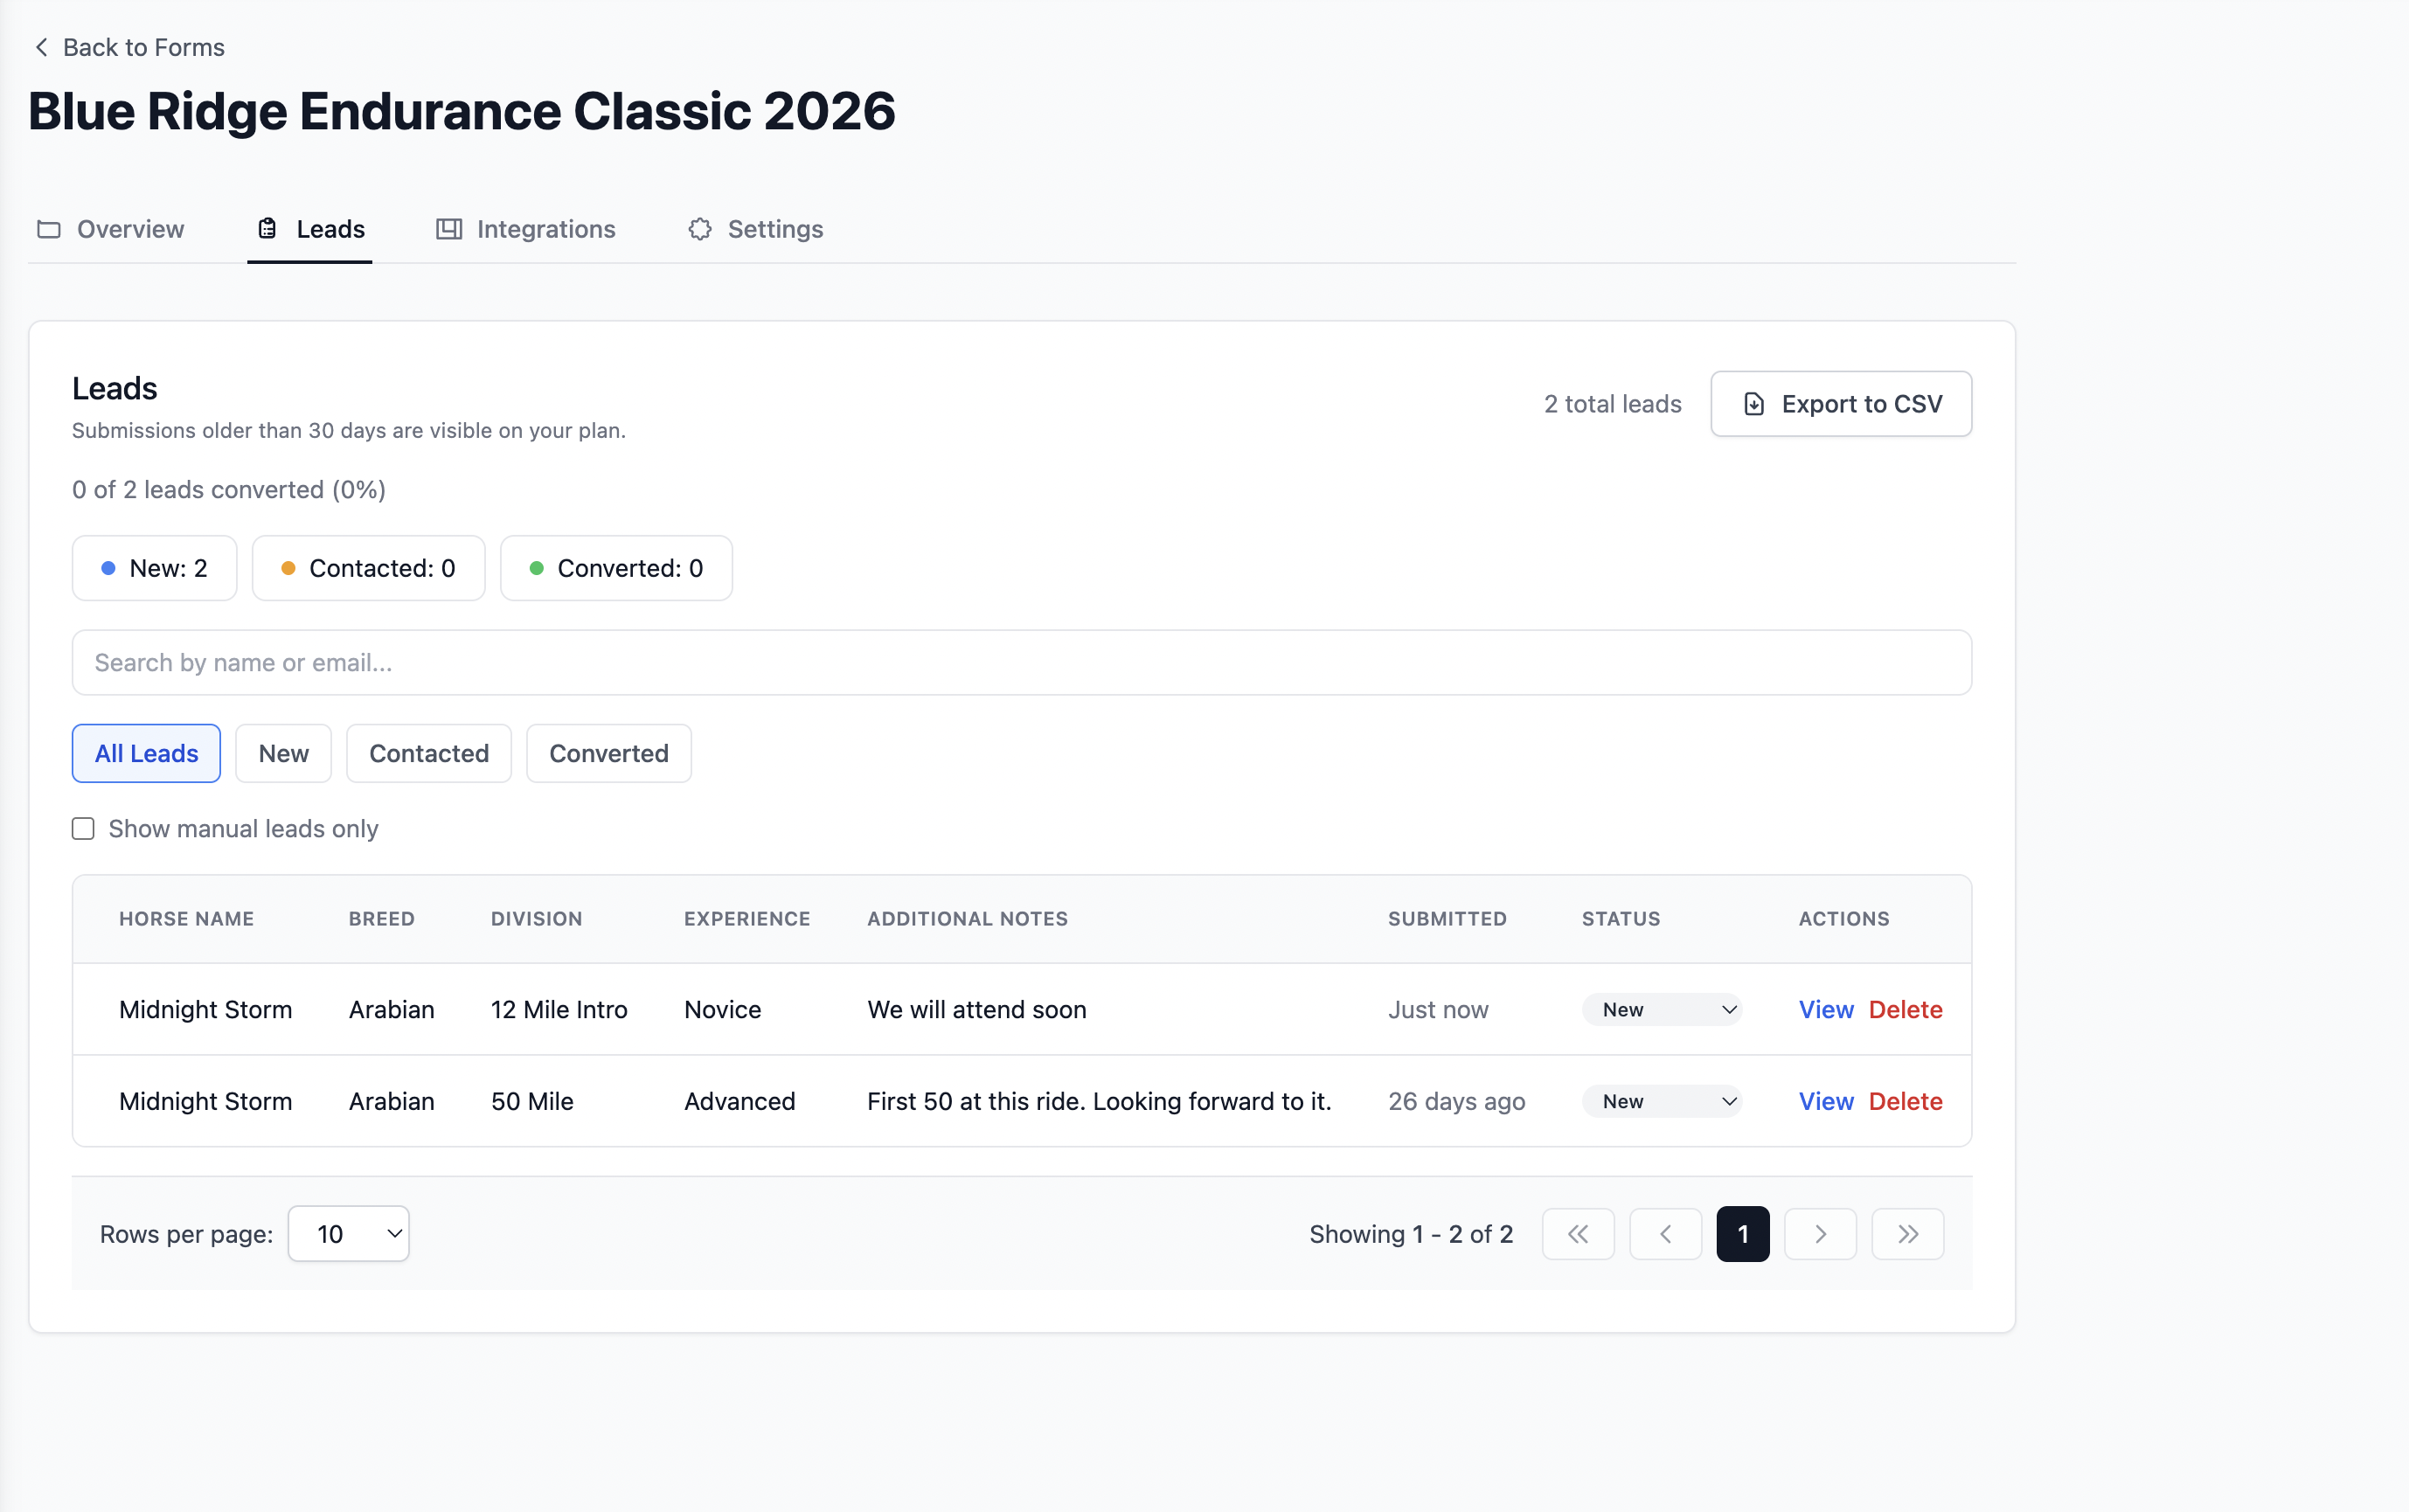
Every submission automatically becomes a tracked lead in your Formgrid dashboard. Go to the Leads tab and you will see your test submission with a status of New.
Here is what the full flow looks like from form submission to tracked lead:
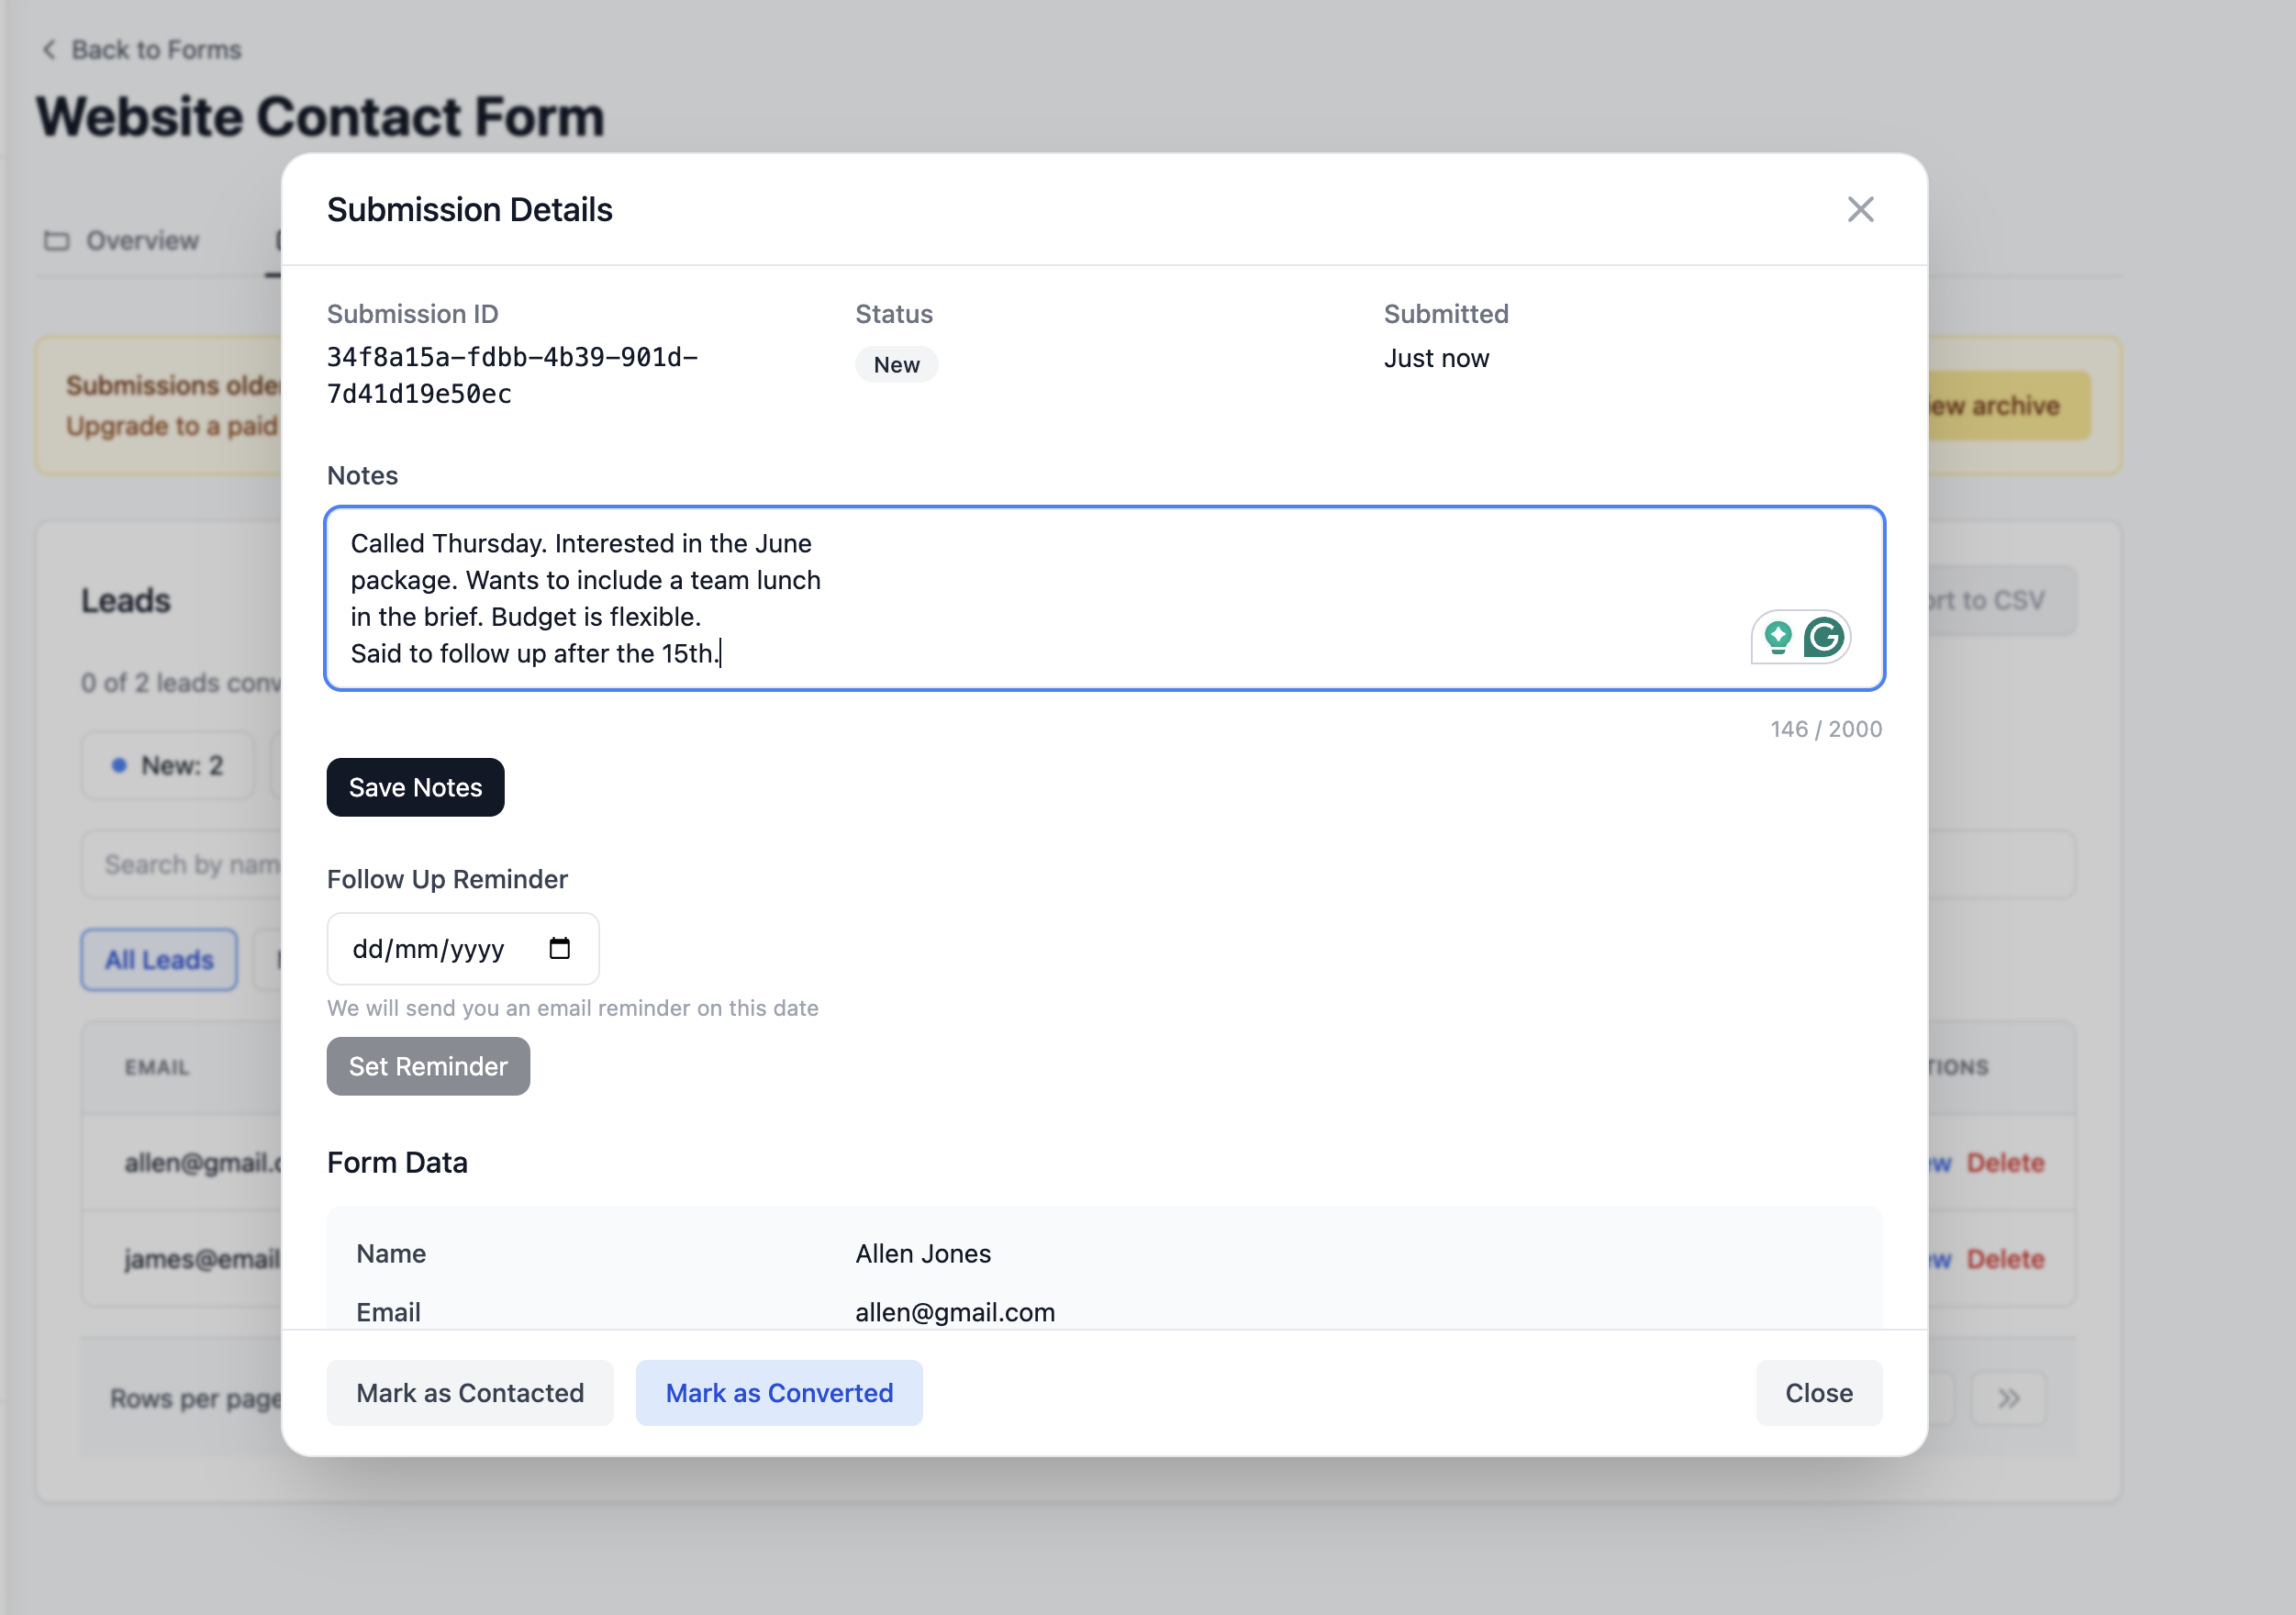
Click on the lead and you can:
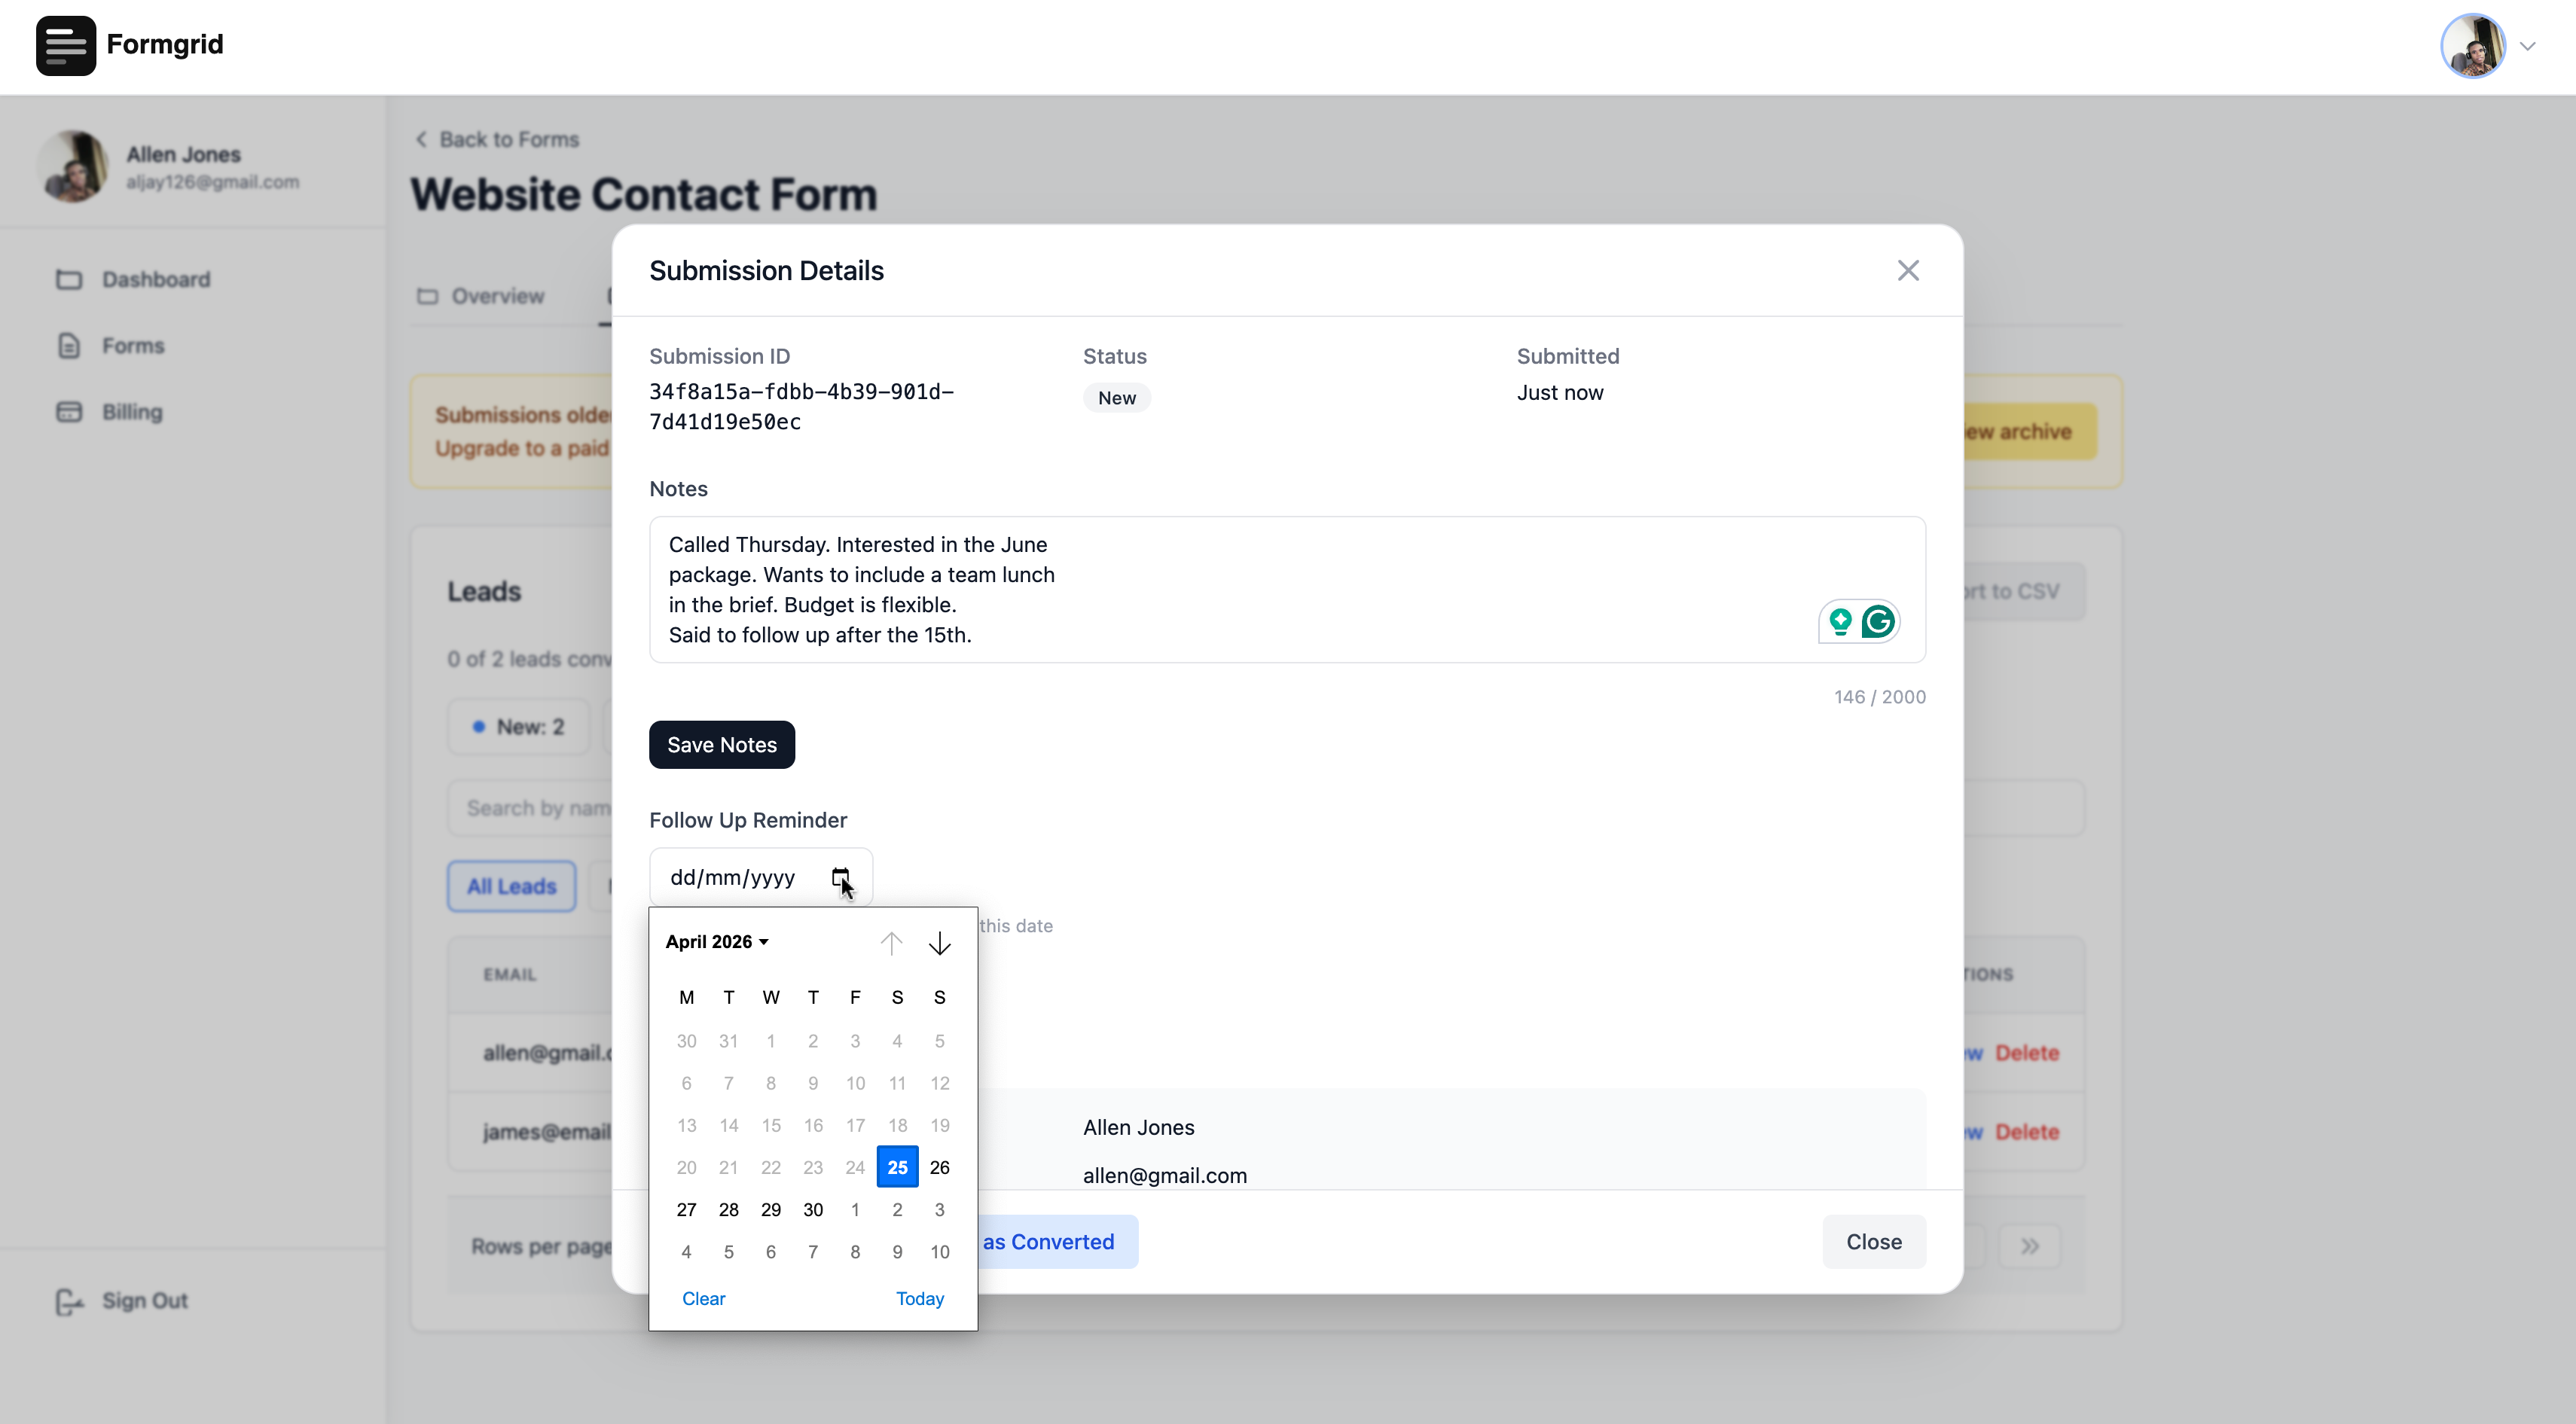
Change its status from New to Contacted when you reply. Change it to Converted when they become a customer. Add a private note about the conversation. Set a follow-up reminder so Formgrid emails you on a date you choose with the lead details and your notes attached.
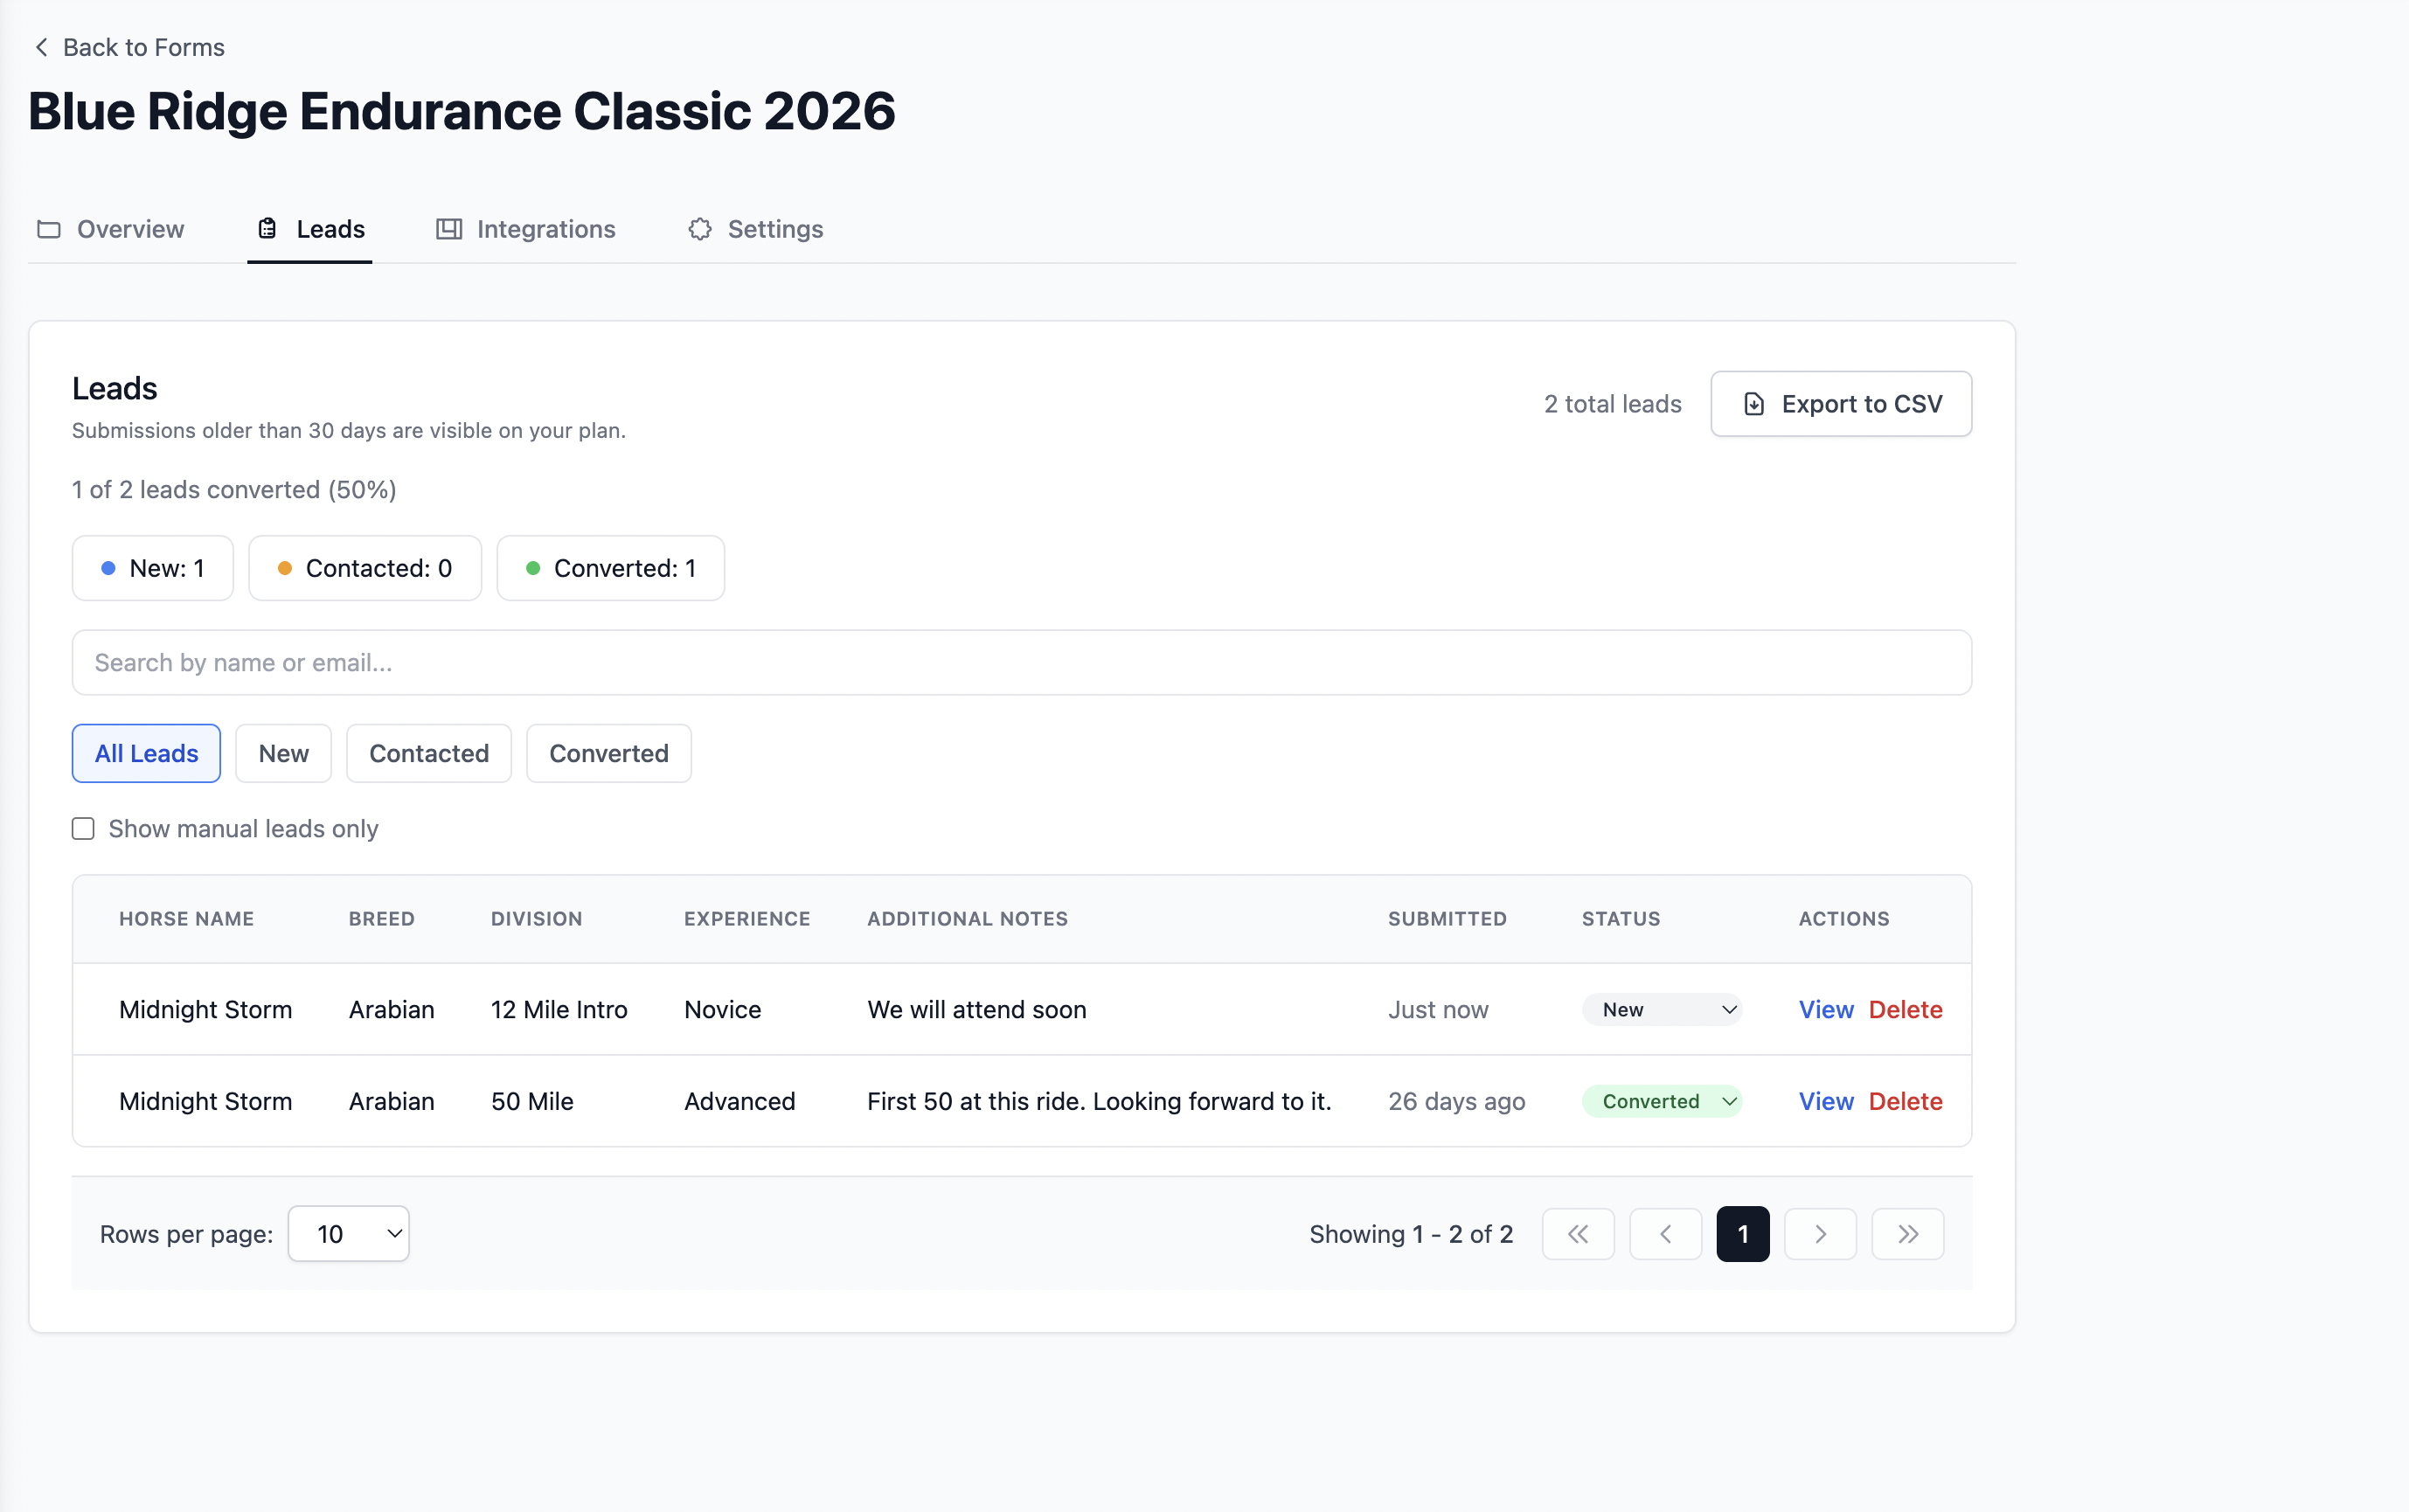
Your conversion rate updates automatically at the top of the leads tab. That number tells you things a flat email inbox never could.
Step 7: Configure Form Settings
Go to the Settings tab on your form in the Formgrid dashboard to configure additional options.
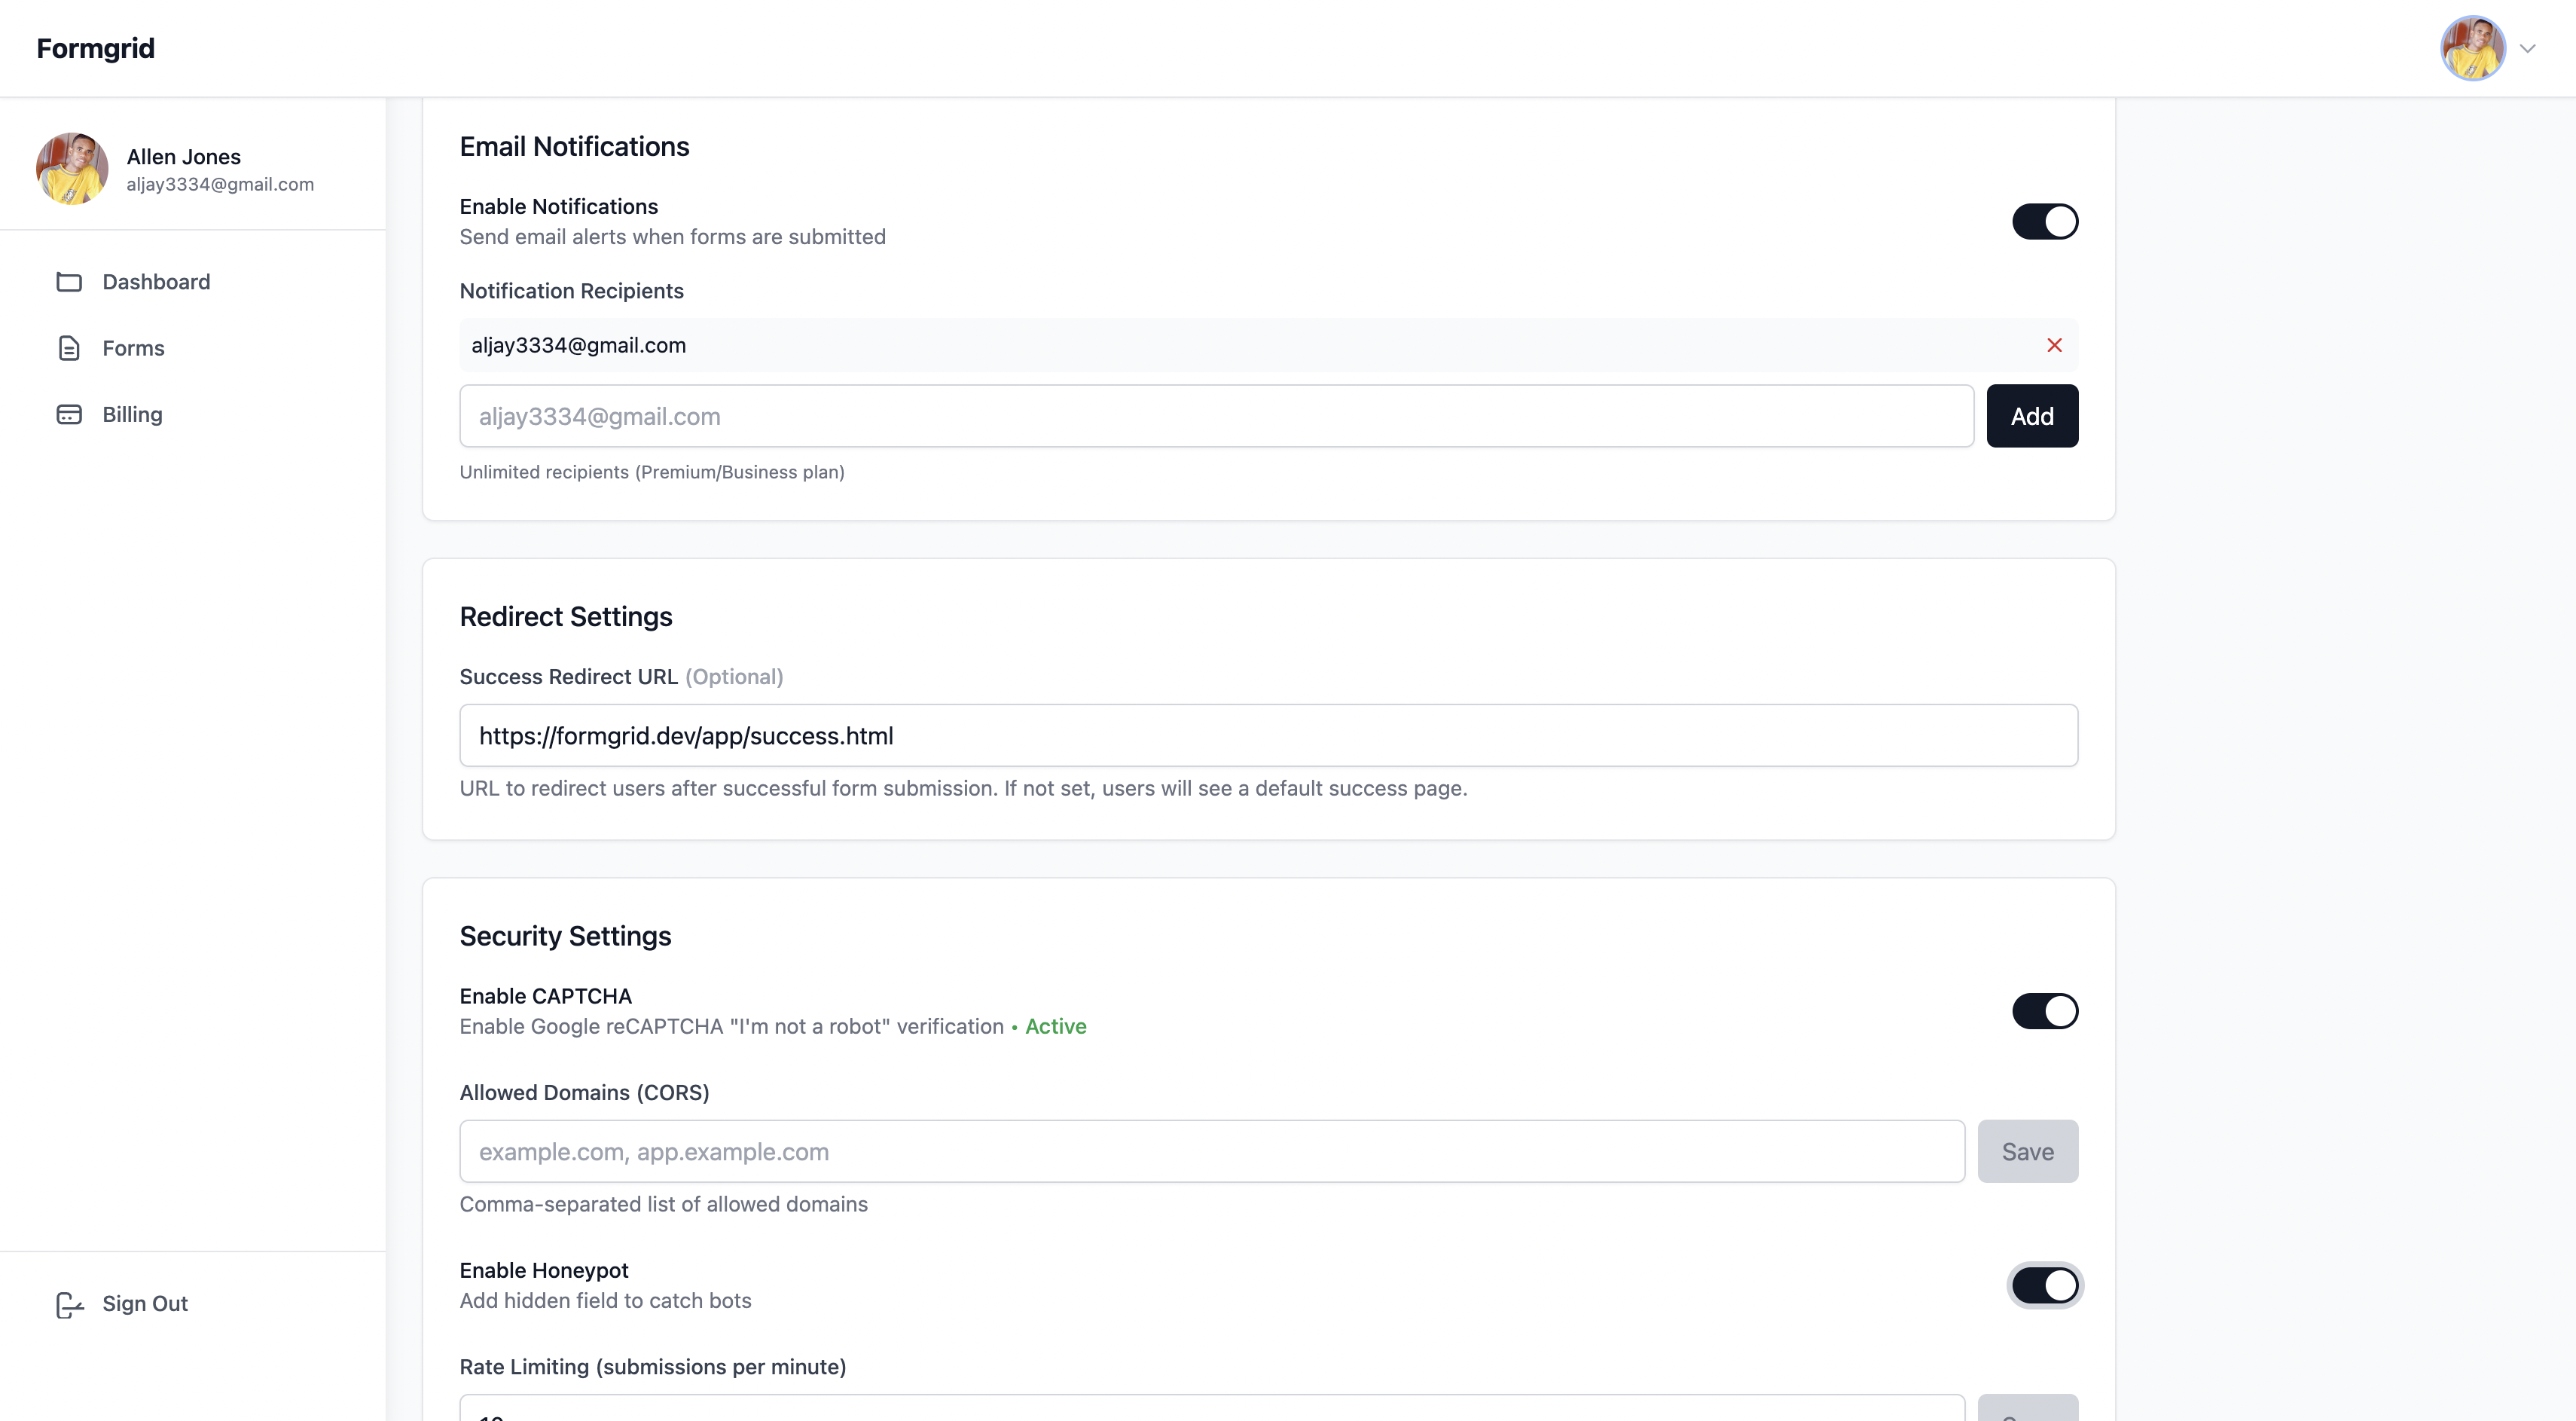
From here you can:
Add multiple notification email addresses. Set a custom redirect URL after submission. Enable auto-responder emails to confirm receipt to the person who submitted. Enable hCaptcha for additional bot protection on top of the honeypot field already in your form.
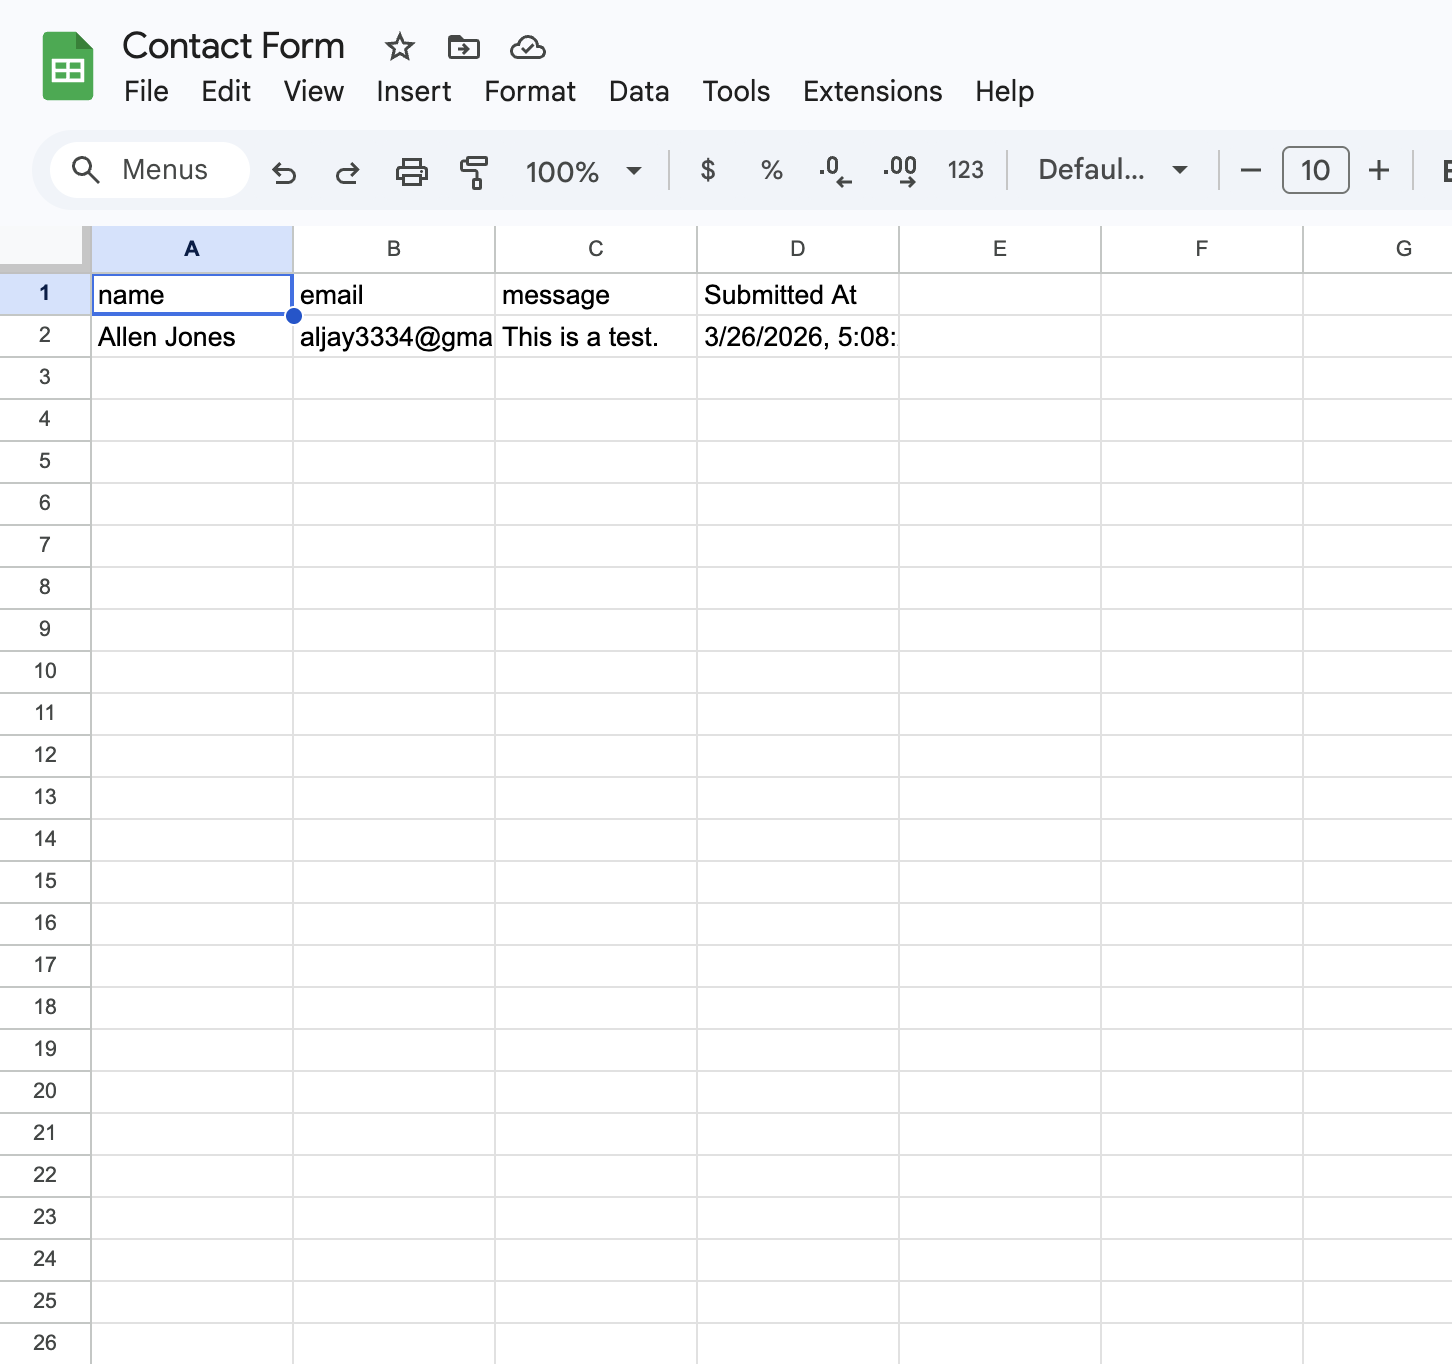
Step 8: Connect Google Sheets (Optional)
If you want every form submission to appear automatically as a new row in a Google Sheet go to the Integrations tab on your form.
Connect your Google account and select the sheet where you want submissions to land. From that point every new submission creates a new row instantly with no Zapier required.
This is particularly useful if you have a team. Everyone with access to the sheet sees new submissions in real time without needing to log into anything new.
Google Sheets sync is available on the Premium plan at $12 per month.
How to Handle File Uploads
If you need users to upload files alongside the form you need to send multipart form data instead of JSON. Here is the updated handleSubmit function:
async function handleSubmit() {
  if (form.honeypot) return

  loading.value = true
  error.value = ''

  try {
    const formData = new FormData()
    formData.append('name', form.name)
    formData.append('email', form.email)
    formData.append('phone', form.phone)
    formData.append('message', form.message)

    if (form.file) {
      formData.append('file', form.file)
    }

    const response = await fetch(FORMGRID_ENDPOINT, {
      method: 'POST',
      headers: {
        'Accept': 'application/json'
      },
      body: formData
    })

    if (response.ok) {
      submitted.value = true
    } else {
      error.value = 'Something went wrong. Please try again.'
    }
  } catch {
    error.value = 'Something went wrong. Please try again.'
  } finally {
    loading.value = false
  }
}
Add the file field to your reactive form object and a file input to your template:
<div class="field">
  <label for="file">Attachment <span class="optional">(optional)</span></label>
  <input
    id="file"
    type="file"
    @change="form.file = $event.target.files[0]"
  />
</div>
File uploads up to 1GB are included on the Premium plan at $12 per month.
Using with the Options API
If you prefer the Options API instead of the Composition API here is the equivalent component:
<template>
  <!-- Same template as above -->
</template>

<script>
export default {
  name: 'ContactForm',
  data() {
    return {
      form: {
        name: '',
        email: '',
        phone: '',
        message: '',
        honeypot: ''
      },
      loading: false,
      submitted: false,
      error: ''
    }
  },
  methods: {
    async handleSubmit() {
      if (this.form.honeypot) return

      this.loading = true
      this.error = ''

      try {
        const response = await fetch(
          'https://formgrid.dev/api/f/your-form-id',
          {
            method: 'POST',
            headers: {
              'Content-Type': 'application/json',
              'Accept': 'application/json'
            },
            body: JSON.stringify({
              name: this.form.name,
              email: this.form.email,
              phone: this.form.phone,
              message: this.form.message
            })
          }
        )

        if (response.ok) {
          this.submitted = true
        } else {
          this.error = 'Something went wrong. Please try again.'
        }
      } catch {
        this.error = 'Something went wrong. Please try again.'
      } finally {
        this.loading = false
      }
    }
  }
}
</script>
Using with Nuxt.js
If you are using Nuxt.js instead of plain Vue.js the same component works without any changes. Nuxt.js is built on Vue.js and supports the same Composition API and Options API patterns.
The only difference is where you place the component file. In a Nuxt project put it in the components folder and Nuxt will auto-import it:
components/
  ContactForm.vue   // auto-imported by Nuxt
Use it in any page without importing:
<!-- pages/contact.vue -->
<template>
  <div>
    <ContactForm />
  </div>
</template>
Why Not Just Use a Backend?
You could set up an Express server, configure Nodemailer, deploy it to a VPS, and manage it yourself. Here is what that actually involves:
Setting up a Node.js server. Configuring email sending with an SMTP provider. Managing environment variables for email credentials. Deploying and maintaining the server. Handling server downtime and errors. Paying for server hosting.
Formgrid handles all of that for $12 per month on the Premium plan, plus gives you a lead pipeline, Google Sheets sync, and follow-up reminders that a custom backend would not include.
For a contact form on a Vue.js site, a backend is the wrong tool for the job.
Formgrid Pricing
| Plan | Price | Submissions |
|---|---|---|
| Free | $0 per month | 50 per month |
| Premium | $12 per month | 1,000 per month |
| Business | $29 per month | 15,000 per month |
The free plan is enough to get started. Upgrade when your volume grows.
Conclusion
In this tutorial you built a fully functional Vue.js contact form that handles submissions without any backend code.
Every submission is:
Sent to Formgrid via a simple fetch request. Stored in a dashboard you can access any time. Emailed to your inbox instantly. Tracked as a lead in a pipeline with status, notes, and follow-up reminders. Optionally synced to Google Sheets automatically.
The entire setup takes about 10 minutes. No server to build. No email configuration. No infrastructure to maintain.
Try Formgrid free at formgrid.dev No credit card required.
Full disclosure: I built Formgrid. I wrote this tutorial as honestly as I could. If anything looks inaccurate or could be improved let me know in the comments.

Comments
Leave a comment