Create or connect the form
Use the visual builder for a new contact form, or connect your existing form to its endpoint. Include a clear email field so you can identify where to reply.
Turn website contact form submissions into organized leads, with statuses, notes, and follow-up reminders.
Free plan available.
Contact form
Customer details + the work they need
New enquiry
Example workflow, shown for illustration.
A contact form with lead tracking saves the enquiry and gives you a way to record its progress. Formgrid stores accepted submissions and lets your team manage their status, notes and follow-up dates in the Leads tab.
A form email might tell you that someone wants a quote. It cannot, on its own, tell your team whether the quote was sent or whether another call is due. Those are separate pieces of information worth recording.
Use the visual builder for a new contact form, or connect your existing form to its endpoint. Include a clear email field so you can identify where to reply.
Find the request in the Leads tab with the information the visitor supplied. Review spam classification and available submission information before acting.
Mark Contacted after reaching out. Add the important details from the conversation and set a follow-up date if the enquiry still needs attention.
For a quote request, a useful note might be “Asked for room measurements; customer expects to send them Friday.” That gives a colleague more context than a read email flag. A follow-up date tells you when to check in.
Create Your Contact Form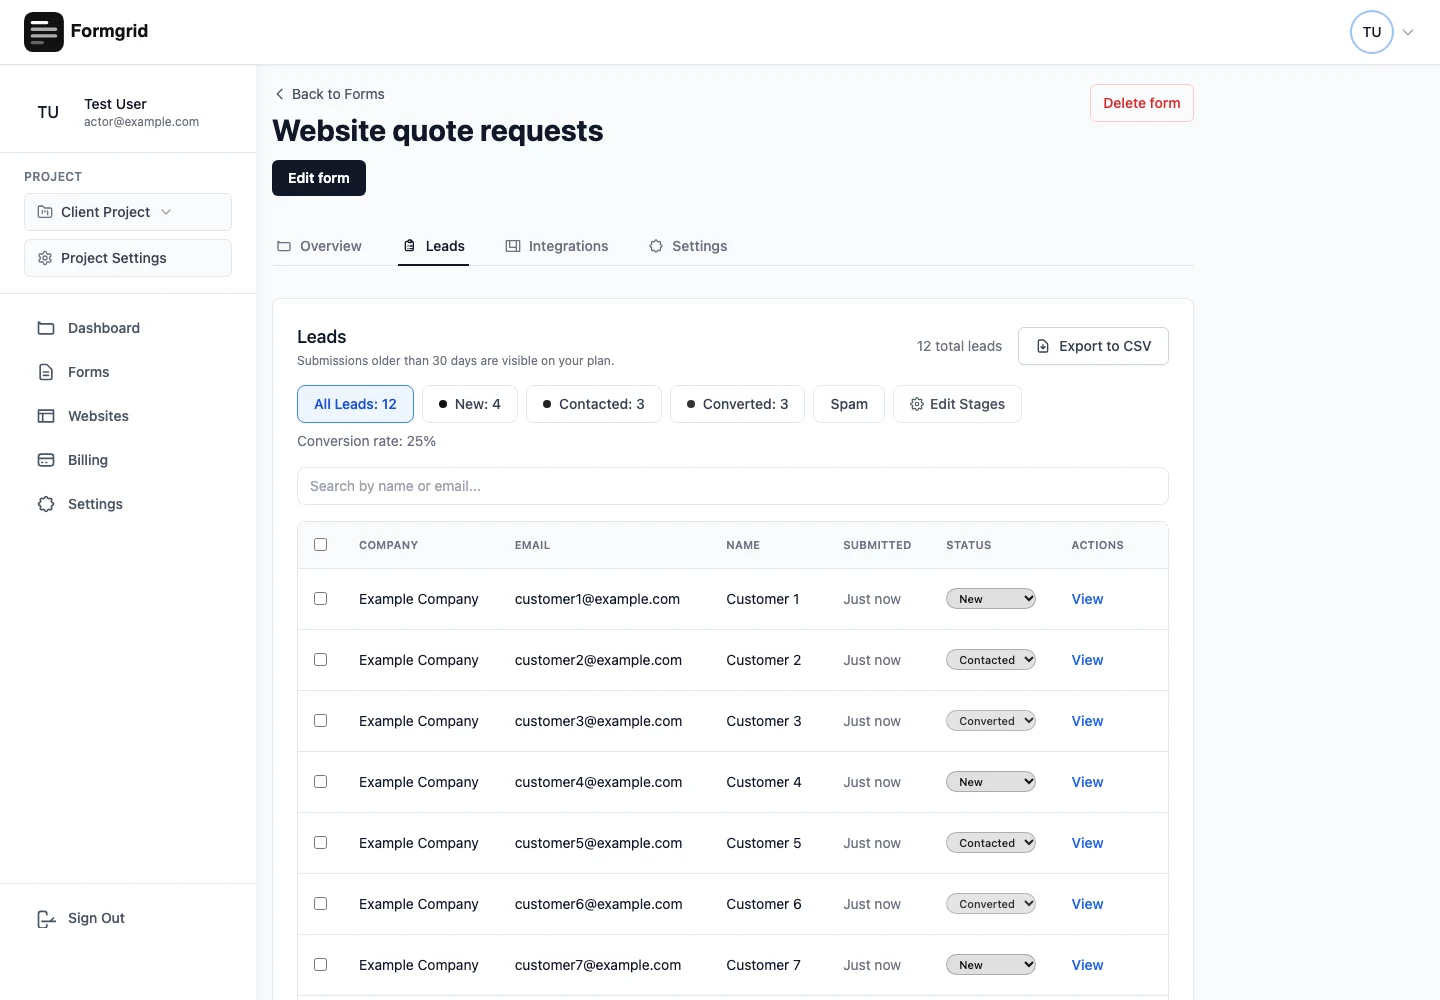
A visitor explains the work and leaves their contact details. Formgrid records the accepted request.
Review the New lead, reply with the next question, and record that contact in its status and notes.
Return when the next action is due. Mark Converted when the customer agrees to proceed, not simply because an email was sent.
Replace YOUR_ENDPOINT_SLUG with the endpoint shown in your Formgrid dashboard. Use named fields, publish your form configuration, and test both the submission record and the customer’s success state.
<form action="https://formgrid.dev/api/f/YOUR_ENDPOINT_SLUG" method="POST">
  <label>Your name
    <input name="name" required>
  </label>
  <label>Email
    <input name="email" type="email" required>
  </label>
  <label>What do you need?
    <textarea name="message" required></textarea>
  </label>
  <button type="submit">Request a quote</button>
</form>For setup instructions, visit the documentation. Plan-specific allowances are listed on pricing.
No. It becomes a record to review. Your team decides whether it is relevant and updates its status as the conversation progresses.
Yes. Set its action to your actual Formgrid endpoint and use named fields. The example below shows the structure with a placeholder endpoint ID.
The default pipeline uses New, Contacted and Converted. Custom stages are available on paid plans.
No. Reply synchronization depends on configured inbound routing. An external Reply-To mailbox receives replies outside Formgrid; the application shows which route is being used.
Create a free account to try Formgrid with your website.
Create Your Contact Form Compare plans